


How to Get Better at Hiking | Hike Tee
Dominic PalmowskiHow to get better at hiking starts with one refreshingly simple idea: train for the trail you actually want to hike, one small, repeatable step at a time. No sufferfest required.
In This Article
- How to Get Better at Hiking: The Simple Step-by-Step Formula
- A Hiking Training Plan for Beginners to Build Stamina
- How to Get in Shape for Hiking Without Overtraining
- Strength Training for Hiking Stamina
- How to Improve Endurance for Hiking on Real Trails
- Fueling and Hydration for Hiking Endurance
- Why Do Hikers Eat Gummy Bears?
- Is Hiking 7 Miles in 3 Hours Good?
- Why Do ADHD People Like Hiking?
- What Are 7 Important Tips for Hiking?
- How to Get Really Good at Hiking?
- Copy-and-Paste Hiking Stamina Checklist
- Frequently Asked Questions
- Your Next Trail Step
How to Get Better at Hiking: The Simple Step-by-Step Formula
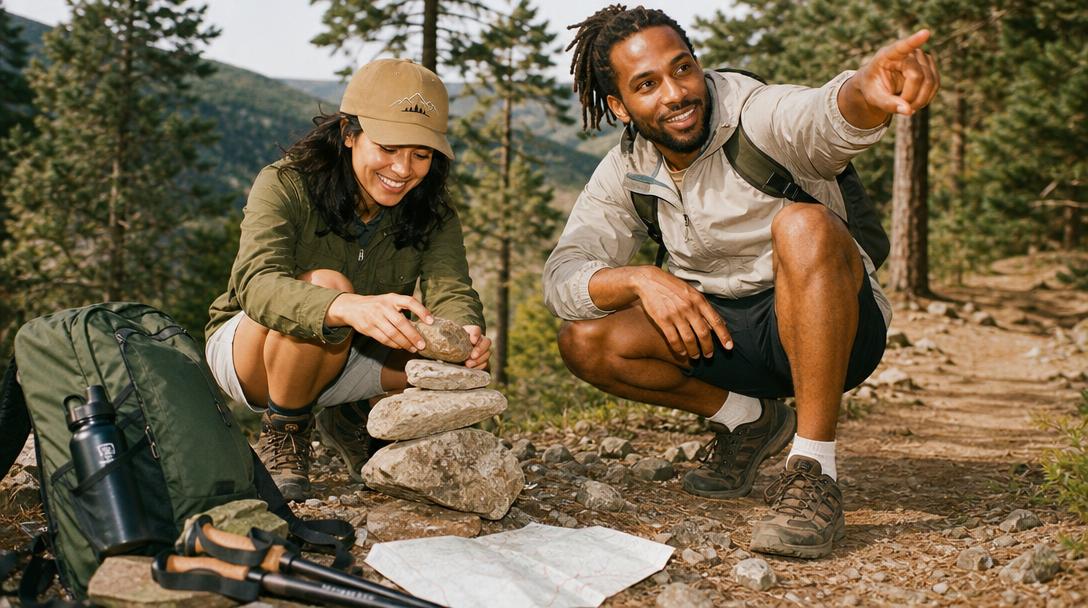
Getting better at hiking means gradually improving five things: distance, elevation, pace, strength, and recovery. Start with walks you can complete comfortably, then increase time or difficulty a little each week. Add hills, stairs, strength training, and practice hikes so your body adapts to real trail conditions without getting overwhelmed.
Think of hiking fitness like stacking rocks for a cairn. One rock at a time? Helpful trail marker. Dumping a bucket of rocks in one go? Chaos.
Your hiking training should progress in this order:
-
Build consistency first
Walk 3–5 days per week, even if some walks are short. -
Increase duration before intensity
A longer easy walk usually builds hiking endurance better than one punishing workout. -
Add hills gradually
Hills train your lungs, glutes, quads, calves, and mental patience. -
Strength train twice weekly
Strong legs and core help you climb, descend, balance, and carry a pack. -
Practice trail pacing
Hiking is not just walking. Uneven terrain, elevation gain, heat, and pack weight all matter. -
Recover on purpose
Rest days are where your body absorbs the work. They are not laziness. They are trail science in sweatpants.
If you are brand new, start smaller than your ego wants. If you are already active, add trail-specific challenges like elevation gain, loaded pack walks, or back-to-back hiking days.
A Hiking Training Plan for Beginners to Build Stamina
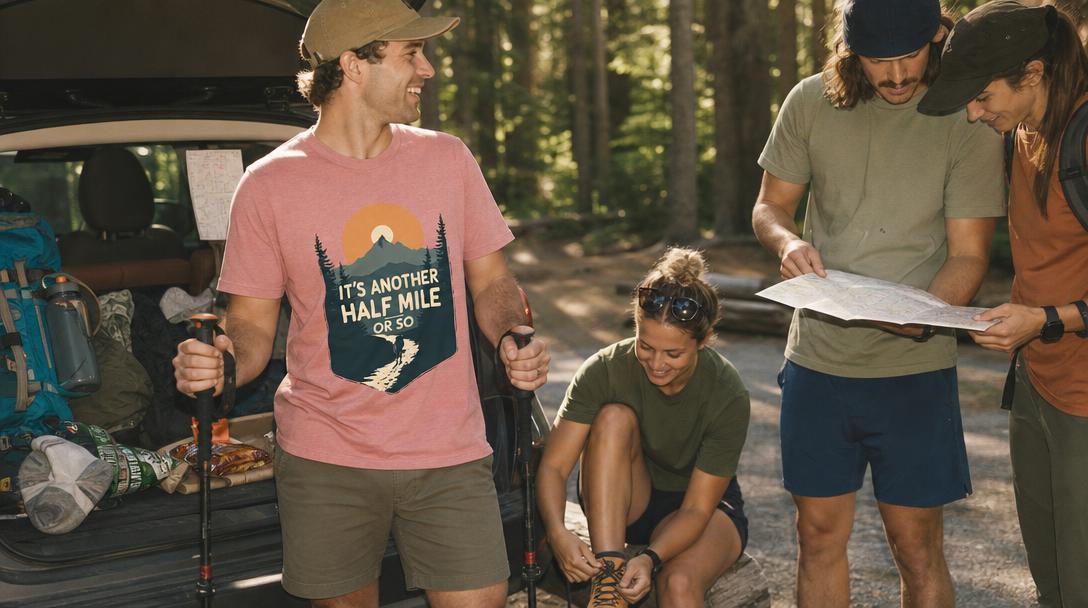
This hiking training plan for beginners is designed to take you from walking sometimes to feeling confident on a moderate day hike. It focuses on steady progression, not punishment. Adjust the days to fit your schedule.
Before you start, choose your current level:
- Level 1: New Beginner — You can walk 15–30 minutes, but hills feel hard.
- Level 2: Active Beginner — You can walk 45–60 minutes and want to handle longer hikes.
- Level 3: Weekend Hiker — You hike occasionally but want more hiking endurance and less post-hike wobble.
Weeks 1–2: Build the Walking Base
Your goal is consistency. Keep your effort easy enough that you can talk in full sentences.
New Beginner
- 3 walks per week: 20–30 minutes
- 1 longer walk: 35–45 minutes
- 2 short strength sessions
- Optional: 5 minutes of gentle stairs or hill walking once per week
Active Beginner
- 3 walks per week: 30–45 minutes
- 1 longer walk: 60 minutes
- 2 strength sessions
- Add one gentle hill route
Weekend Hiker
- 2 easy walks: 30–45 minutes
- 1 hill or stair session: 20–30 minutes
- 1 longer walk or hike: 75–90 minutes
- 2 strength sessions
Focus on showing up. If you finish a walk thinking you could have done more, perfect. That is how you stack wins.
Weeks 3–4: Add Hills and Trail-Specific Strength
Now you will start training for the thing that makes hiking feel different from neighborhood walking: elevation.
New Beginner
- 3 walks per week: 25–35 minutes
- 1 longer walk: 45–60 minutes
- 1 hill practice: 5–10 short uphill repeats
- 2 strength sessions
Active Beginner
- 2 easy walks: 35–45 minutes
- 1 hill walk: 30–45 minutes
- 1 longer hike/walk: 75–90 minutes
- 2 strength sessions
Weekend Hiker
- 2 easy walks: 45 minutes
- 1 hill workout: 30–45 minutes
- 1 longer hike: 90–120 minutes
- 2 strength sessions
- Optional: carry a light daypack
A hill repeat does not need to be dramatic. Find a hill, walk up at a steady pace for 30–90 seconds, walk down slowly, and repeat. Tiny hill? Great. Neighborhood driveway? Also great. Parking garage stairs? Weirdly effective.
Weeks 5–6: Practice Real Hiking Conditions
Now your hiking stamina starts to feel useful on actual trails.
New Beginner
- 2 easy walks: 30–40 minutes
- 1 hill or stair session: 15–25 minutes
- 1 practice hike: 60–90 minutes
- 2 strength sessions
- Carry a light pack with water and snacks
Active Beginner
- 2 easy walks: 40–50 minutes
- 1 hill session: 30 minutes
- 1 practice hike: 90–120 minutes
- 2 strength sessions
- Practice eating and drinking on the move
Weekend Hiker
- 1 easy walk: 45 minutes
- 1 hill session: 40 minutes
- 1 long hike: 2–3 hours
- 1 recovery walk the next day: 20–30 minutes
- 2 strength sessions
- Practice with your real hiking pack weight
This is the phase where you test your shoes, socks, pack fit, snacks, water strategy, and pacing. Better to discover your perfect trail bar turns into jaw glue on a local loop than halfway up a national park trail.
Weeks 7–8: Prepare for Your Goal Hike
Use these weeks to match your training to your actual hiking goal.
Goal: Comfortable 3–5 Mile Day Hike
- Long hike: 2–2.5 hours
- Elevation: gentle to moderate
- Pack: water, snacks, light layers, first aid
- Training focus: consistent pace and fewer long stops
Goal: 6–8 Mile Day Hike
- Long hike: 2.5–4 hours
- Elevation: moderate
- Pack: full day-hike kit
- Training focus: fueling every 45–60 minutes and managing climbs
Goal: Beginner Backpacking Trip
- Long hike: 3–5 hours
- Elevation: similar to planned route
- Pack: gradually increase weight over several weeks
- Training focus: back-to-back hiking days, foot care, shoulder/hip comfort
During the final week before a big hike, reduce intensity. Keep moving, but do not cram. Cramming works poorly for exams and even worse for ankles.
How to Get in Shape for Hiking Without Overtraining
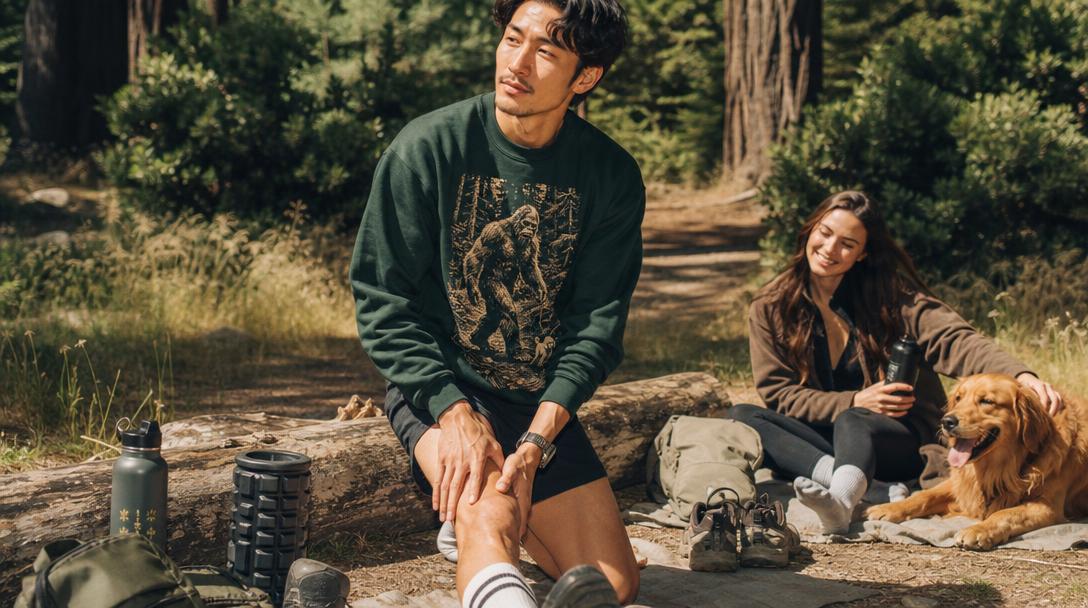
To get in shape for hiking, train 4–5 days per week with a mix of easy walks, one longer hike or walk, one hill session, and two strength workouts. Increase weekly volume gradually, take rest days seriously, and practice on terrain similar to your goal trail whenever possible.
The best hiking training plan is one you can repeat while still living your regular life. Most hikers are juggling work, family, chores, overstimulation, and the mysterious daily task of figuring out dinner again.
Simple Weekly Hiking Fitness Schedule
Monday: Rest or gentle mobility
Stretch, walk easy, or do nothing guilt-free.
Tuesday: Easy walk + strength
- Walk 25–45 minutes
- Strength routine A
Wednesday: Easy walk
- Walk 30–60 minutes at conversational pace
Thursday: Hills or stairs
- Warm up 10 minutes
- Walk uphill or stairs for 15–30 minutes total
- Cool down 5–10 minutes
Friday: Rest
Saturday: Long walk or practice hike
- Start with 45–60 minutes
- Build toward 2–4 hours depending on your goal
Sunday: Recovery walk + strength
- Easy 20–40 minutes
- Strength routine B
If that is too much, remove one easy walk. If it is too little, extend the easy days before adding more intensity.
Strength Training for Hiking Stamina
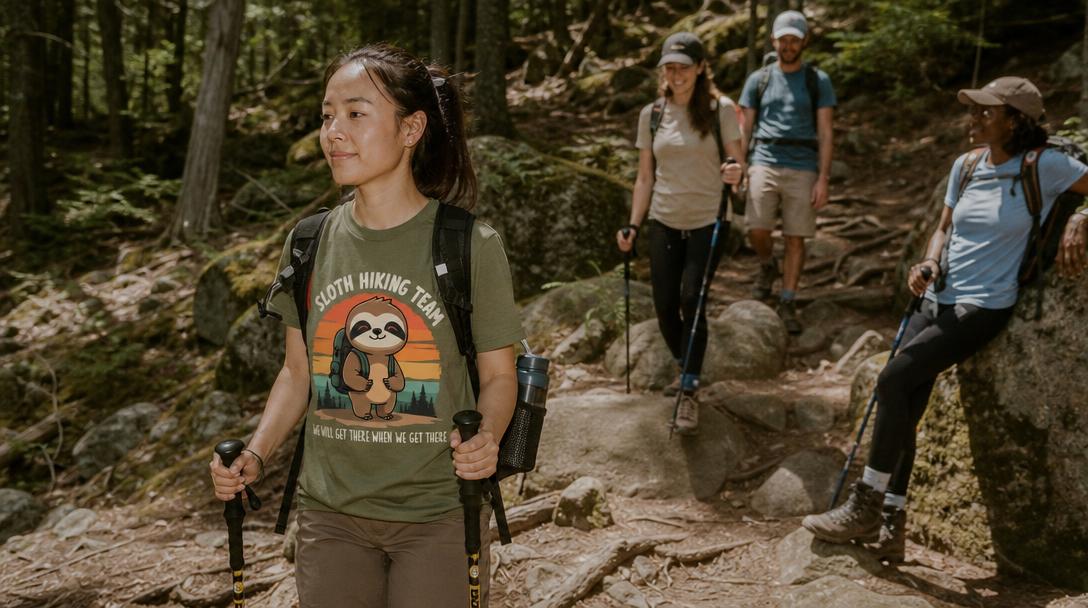
Stronger muscles make hiking feel easier because your body uses less effort for each step, climb, and descent. Focus on glutes, quads, hamstrings, calves, ankles, and core. Two short weekly strength sessions can improve hiking fitness, reduce fatigue, and help protect knees and ankles on uneven terrain.
You do not need a gym. A sturdy step, backpack, chair, and floor space are enough.
Strength Routine A: Climbing Power
Do 2–3 rounds:
-
Step-ups — 8–12 per leg
Use a stair, bench, or sturdy box. These mimic uphill hiking. -
Squats or chair sit-to-stands — 10–15 reps
Great for quads and glutes. -
Glute bridges — 12–15 reps
Helps wake up the muscles that power climbs. -
Calf raises — 12–20 reps
Useful for uphill push-off and ankle support. -
Front plank — 20–45 seconds
Builds core stability for carrying a pack.
Strength Routine B: Downhill Control and Balance
Do 2–3 rounds:
-
Reverse lunges — 6–10 per leg
Builds trail control without as much knee stress as forward lunges. -
Slow step-downs — 6–10 per leg
Excellent for downhill hiking. Move slowly. -
Single-leg balance — 30 seconds per side
Add head turns or stand on a folded towel when ready. -
Dead bugs — 8–12 per side
Core training without needing to become a human pretzel. -
Side plank or suitcase carry — 20–40 seconds per side
Helps with pack stability and uneven terrain.
Start with bodyweight. Add a backpack with books or water bottles when it feels too easy.
How to Improve Endurance for Hiking on Real Trails
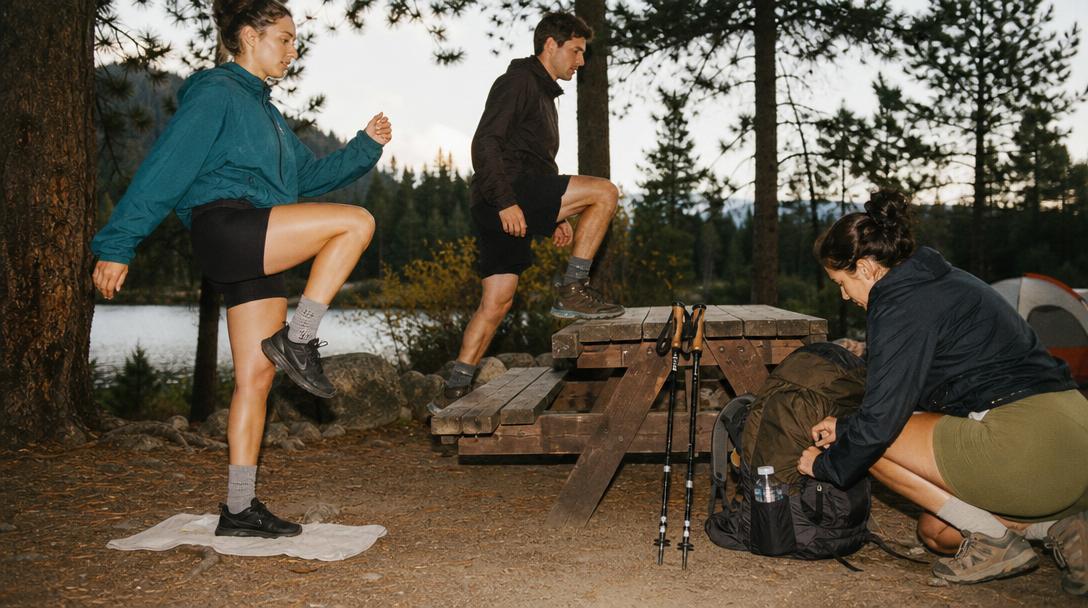
Improving endurance for hiking requires more than walking farther; you need trail-specific pacing, smart breaks, steady fueling, and practice on hills or uneven ground. Use a conversational pace, take short breaks before exhaustion, shorten your stride uphill, and train with the shoes, pack, and terrain you will use on hike day.
Trail stamina is different from treadmill stamina. Trails have rocks, roots, mud, sun exposure, switchbacks, creek crossings, and that one hill that looked moderate on the map but was clearly designed by a goblin.
Use the Start Boring Pace
For the first 20–30 minutes, go slower than you think you should. Your body needs time to warm up, especially on morning hikes.
A good starting pace feels almost too easy. If you are breathing hard right away, slow down. Hiking endurance improves when you learn to stay below the red zone.
Try the 50/10 Break Strategy
For longer hikes, use:
- 50 minutes hiking
- 10 minutes break
Or, if you are newer:
- 25 minutes hiking
- 5 minutes break
Short, planned breaks beat random collapse breaks. During breaks:
- Sip water
- Eat a small snack
- Adjust socks or pack straps
- Check the map
- Take one nice trees-are-great moment
Shorten Your Stride Uphill
Big uphill steps burn your legs fast. Instead:
- Take shorter steps
- Keep your chest tall
- Lean slightly from the ankles, not the waist
- Use trekking poles if helpful
- Step at a rhythm you can maintain
If you need to pause often, try micro-breaks: stop for 10–20 seconds, breathe, then continue. This is especially useful on steep climbs.
Descend Like You Want Knees Tomorrow
Downhill hiking can be surprisingly tiring because your quads work hard to brake your body.
Use these downhill tips:
- Keep knees slightly bent
- Take shorter steps
- Avoid locking your knees
- Use poles on steep descents
- Slow down on loose gravel
- Step around big drops when possible
Your future self will thank you when stairs do not feel like betrayal the next morning.
Fueling and Hydration for Hiking Endurance
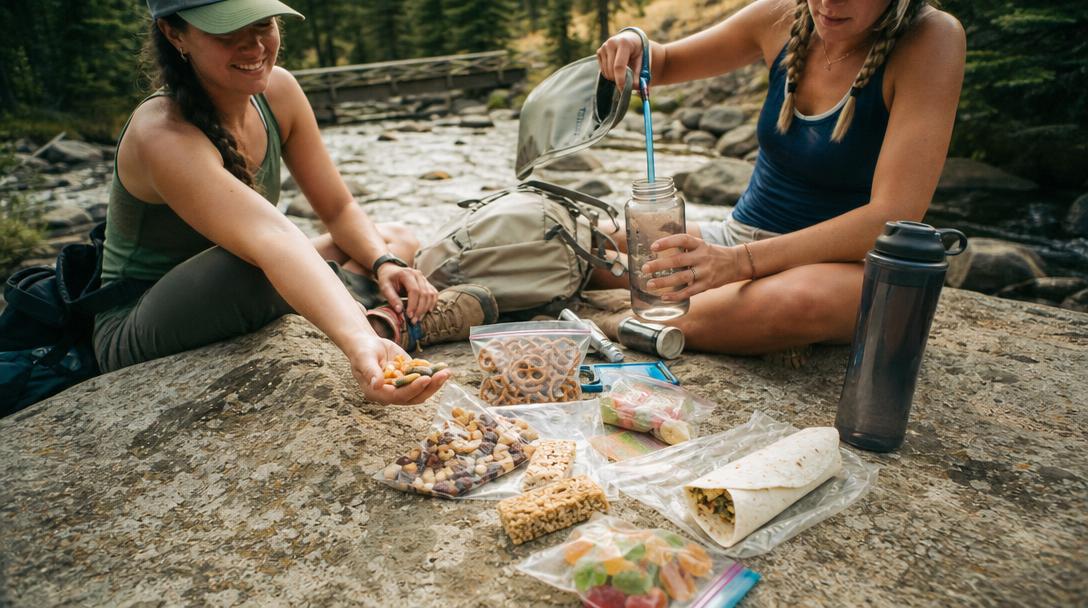
For hikes longer than 60–90 minutes, eat small amounts regularly and drink before you feel depleted. REI suggests about 200–300 calories per hour and roughly half a liter of water per hour during moderate activity in moderate temperatures, adjusting for heat, altitude, sweat rate, and trail difficulty.
Fueling is not just for elite athletes. It is for regular hikers who would prefer not to become cranky forest goblins at mile five.
What to Eat Before a Hike
About 1–3 hours before hiking, choose a meal or snack with carbohydrates plus a little protein.
Good options:
- Oatmeal with fruit
- Toast with peanut butter
- Yogurt and granola
- Breakfast burrito
- Banana and trail mix
- Rice, eggs, or leftovers if you are a savory breakfast person
Avoid trying brand-new foods before a big hike unless you enjoy digestive plot twists.
What to Eat During a Hike
For hikes over 90 minutes, snack every 45–60 minutes.
Easy hiking foods:
- Trail mix
- Granola bars
- Pretzels
- Dried fruit
- Nut butter packets
- Tortillas with cheese or peanut butter
- Crackers
- Jerky
- Electrolyte chews
- Gummy bears
Pair quick carbs with salty snacks on longer hikes. Sweet fuel helps energy; salty fuel helps replace sodium, especially if you sweat a lot.
Hydration Basics
Start with about half a liter of water per hour in moderate conditions, then adjust.
Bring more water when hiking in:
- Heat
- Humidity
- High elevation
- Full sun
- Dry climates
- Long exposed sections
- Routes without reliable water sources
The National Park Service often advises visitors to plan carefully for heat, water, weather, and changing trail conditions, especially in desert or high-elevation parks. Always check the specific park or trail page before you go.
Why Do Hikers Eat Gummy Bears?
Hikers eat gummy bears because they provide quick carbohydrates that are easy to carry, portion, and eat on the move. They can help during climbs or energy dips, but they work best as part of a balanced trail snack plan that also includes salty foods, protein, fat, and enough water.
Gummy bears are basically tiny chewy carb nuggets. Not magic. Not a full meal. But useful.
They are popular because they are:
- Lightweight
- Cheap
- Easy to share
- Low in fat and fiber
- Fast to digest for many people
- Less messy than some gels
Use them strategically:
- Eat a small handful before or during a climb
- Pair with pretzels for sodium
- Do not rely on them as your only food
- Keep them sealed so wildlife does not get ideas
If you have blood sugar concerns or diabetes, follow your clinician’s fueling advice.
Is Hiking 7 Miles in 3 Hours Good?
Hiking 7 miles in 3 hours is a strong pace for many recreational hikers, averaging about 2.3 miles per hour. Whether it is good depends on elevation gain, trail surface, weather, pack weight, altitude, and your fitness level. On steep or rocky trails, that pace can be genuinely impressive.
Flat, smooth trail? Seven miles in three hours is solid.
Rocky mountain trail with 1,500 feet of gain? That is a much bigger effort.
Instead of judging only by mileage, look at:
- Elevation gain — 7 flat miles is different from 7 steep miles.
- Trail condition — sand, snow, mud, and rocks slow everyone down.
- Pack weight — backpacking pace is usually slower than day hiking pace.
- Break time — total time matters for planning daylight and water.
- How you feel after — finishing destroyed is different from finishing strong.
A common planning estimate is 2 miles per hour on moderate terrain, then adding time for elevation, breaks, photos, and snack negotiations with children.
Why Do ADHD People Like Hiking?
Many people with ADHD like hiking because trails provide movement, novelty, sensory input, and fewer everyday distractions. Research on green outdoor settings suggests nature exposure may help restore attention and reduce stress. Hiking can also offer clear goals, changing scenery, and physical activity that supports mood and focus.
Of course, not every person with ADHD likes hiking. Bugs, heat, crowds, navigation, or gear planning can be frustrating. But for many, hiking creates the right blend of stimulation and calm.
A well-chosen trail can offer:
- Movement without needing to sit still
- Interesting sights, sounds, and textures
- Natural dopamine-friendly novelty
- A clear path and visible progress
- Breaks from screens and indoor noise
- A satisfying start-to-finish mission
A study published in the American Journal of Public Health found that green outdoor settings were associated with reduced ADHD symptoms in children. Hiking is not a replacement for medical care, therapy, medication, or accommodations, but it can be a helpful supportive habit.
ADHD-friendly hiking tips:
- Pack the night before
- Use a checklist
- Choose trails with simple navigation
- Set snack and water reminders
- Hike with a buddy
- Pick a trail with interesting landmarks
- Keep the route shorter than your maximum capacity
What Are 7 Important Tips for Hiking?
Seven important hiking tips are: choose the right trail, check weather, carry enough water and food, wear comfortable footwear, pace yourself, bring navigation, and turn around before conditions become unsafe. These basics help beginners build confidence while reducing common problems like fatigue, dehydration, blisters, and getting caught after dark.
Here is the trail-tested version:
-
Choose a trail that matches your current fitness
Start with shorter mileage and modest elevation. Save the epic sufferfest for future-you. If you need starter routes, use our guide to the best hiking trails for beginners. -
Check weather and trail conditions
Look for closures, storms, heat advisories, snow, mud, or wildfire smoke. -
Bring more water and snacks than you think
A delayed hike feels much better with extra pretzels. -
Wear broken-in shoes and good socks
Cotton socks plus sweaty feet can become blister confetti. -
Start slower than you want
This protects your energy for later miles. -
Carry navigation
Download offline maps and bring a backup, especially where cell service is unreliable. -
Know when to turn around
Turning around is not failure. It is advanced outdoor wisdom wearing a practical hat.
For a deeper gear rundown before your first longer route, review our day hiking gear checklist.
How to Get Really Good at Hiking?
To get really good at hiking, combine consistent aerobic training, hill practice, strength work, navigation skills, fueling habits, and smart decision-making. The best hikers are not always the fastest; they are the ones who pace well, prepare for conditions, recover properly, and make safe choices when plans change.
Getting good at hiking is part fitness, part experience, part humility.
Here is what experienced hikers do well:
- They start early.
- They check weather and trail reports.
- They pack the essentials.
- They pace from the first mile.
- They eat before they feel empty.
- They filter or carry enough water.
- They protect their feet.
- They turn around when needed.
- They leave no trace.
- They know that just one more mile can be famous last words.
The goal is not to hike harder all the time. The goal is to hike smarter often enough that your body, mind, and gear systems become reliable.
A little fun matters, too. For easy local walks, campsite hangs, and post-hike town stops, casual graphic tees can make the routine feel less like training and more like your actual outdoor life. The Raccoon Out Of Breath Shirt is painfully relatable on hill days, while the Sloth Hiking Team Shirt is basically a pacing philosophy in cotton-blend form.
If you are still dialing in your layers, shoes, and trail clothes, our beginner guide on what to wear hiking can help you match your outfit to the weather and terrain.
Copy-and-Paste Hiking Stamina Checklist
Use this as a printable routine or notes-app checklist.
Weekly Training Checklist
- [ ] 3 easy walks
- [ ] 1 longer walk or hike
- [ ] 1 hill, stair, or incline session
- [ ] 2 strength workouts
- [ ] 1–2 recovery or rest days
- [ ] Increase distance, elevation, or pack weight gradually
- [ ] Practice with hiking shoes and socks
- [ ] Test trail snacks before a big hike
- [ ] Stretch or foam roll tight calves, hips, and quads
- [ ] Sleep enough before long hikes
Day-Hike Packing Checklist
- [ ] Water
- [ ] Snacks and extra food
- [ ] Navigation/offline map
- [ ] First aid supplies
- [ ] Sun protection
- [ ] Rain or wind layer
- [ ] Warm layer
- [ ] Headlamp or flashlight
- [ ] Fully charged phone
- [ ] Power bank for longer hikes
- [ ] ID, keys, permits, or pass
- [ ] Small trash bag
- [ ] Trekking poles, if useful
- [ ] Blister care
- [ ] Emergency contact/route shared with someone
Four-Week Mini Hiking Training Calendar
Use this if you want the simplest possible starting point.
Week 1
- 3 easy walks: 20–30 minutes
- 1 longer walk: 40 minutes
- 2 strength sessions
Week 2
- 3 easy walks: 25–35 minutes
- 1 longer walk: 50 minutes
- 1 short hill practice
- 2 strength sessions
Week 3
- 2 easy walks: 30–40 minutes
- 1 hill walk: 25–30 minutes
- 1 longer walk/hike: 60–75 minutes
- 2 strength sessions
Week 4
- 2 easy walks: 30–45 minutes
- 1 hill or stair session: 30 minutes
- 1 practice hike: 75–90 minutes
- 2 strength sessions
Repeat the calendar with slightly longer hikes or more elevation when it feels manageable.
Frequently Asked Questions
Why do hikers eat gummy bears?
Hikers eat gummy bears because they are quick, portable carbohydrates that can help during climbs or energy dips. They are best used alongside salty snacks, water, and more filling foods, especially on longer hikes where hiking endurance depends on steady fueling.
Is hiking 7 miles in 3 hours good?
Yes, hiking 7 miles in 3 hours is a good pace for many hikers, especially if the trail has elevation gain, rocks, heat, or a loaded pack. On flat terrain it is a solid recreational pace; on steep terrain it can be quite strong.
Why do ADHD people like hiking?
Many people with ADHD enjoy hiking because it combines movement, novelty, nature, and reduced screen-based distraction. Trails can provide enough stimulation to stay engaged while also offering the calming effects of outdoor spaces.
What are 7 important tips for hiking?
Choose an appropriate trail, check the weather, bring water and food, wear comfortable footwear, pace yourself, carry navigation, and turn around when conditions become unsafe. These seven hiking tips help beginners stay safer and enjoy the trail more.
How long does it take to build hiking stamina?
Most beginners can noticeably improve hiking stamina in 4–8 weeks with consistent walking, hills, and strength training. Bigger goals like long mountain hikes or backpacking trips may take 8–16 weeks or more, depending on your starting fitness and available training time.
What is the best hiking training plan for beginners?
The best hiking training plan for beginners includes 3–4 walks per week, one longer walk or hike, one hill session, and two short strength workouts. Progress gradually by increasing distance, elevation, or pack weight one at a time.
Your Next Trail Step
Getting better at hiking is not about becoming the fastest person on the mountain. It is about building enough stamina, strength, and confidence that your hikes feel more joyful and less like a negotiation with your lungs.
Start with the basics:
- Walk consistently.
- Add hills slowly.
- Strength train twice a week.
- Practice pacing before you need it.
- Eat and drink before you crash.
- Rest enough to adapt.
- Choose trails that match your current body, not your fantasy summit self.
Pick one goal hike, choose the beginner or active beginner plan above, and give yourself four steady weeks. Keep it simple, keep it repeatable, and keep a snack handy.
The trail does not care if you are perfect. It just asks you to keep taking the next step.


