


Winter Camping Checklist: Hike Tee Cold-Weather Guide
Dominic PalmowskiA winter camping checklist is where cozy snowy magic meets cold-weather reality: warmer sleep insulation, smarter winter camping layers, snow traction, storm-ready shelter, and backup items for when freezing temperatures turn small mistakes into big problems.
Winter camping can be magical in the quiet-forest, sparkly-snow, no-mosquitoes kind of way. It can also become very un-fun very fast if your socks are damp, your sleeping pad is underpowered, or your warm jacket is more standing-in-line-for-coffee warm than sleeping-near-frozen-ground warm.
According to REI’s winter camping guidance, the foundation is a three-part clothing system: moisture-wicking base layer, insulating middle layer, and waterproof or windproof outer layer. REI also recommends winter-specific upgrades like an insulated sleeping pad, warm hat, gloves or mittens, gaiters, and winter boots for snow travel.
This guide focuses on what changes when temperatures drop: winter camping clothes, sleep warmth, traction, shorter daylight, and the little comfort items that keep the trip fun instead of character-building. For more cold-night strategy, pair this list with our cold weather camping tips for warmer nights.
In This Article
Printable Winter Camping Checklist: Cold-Weather Add-Ons
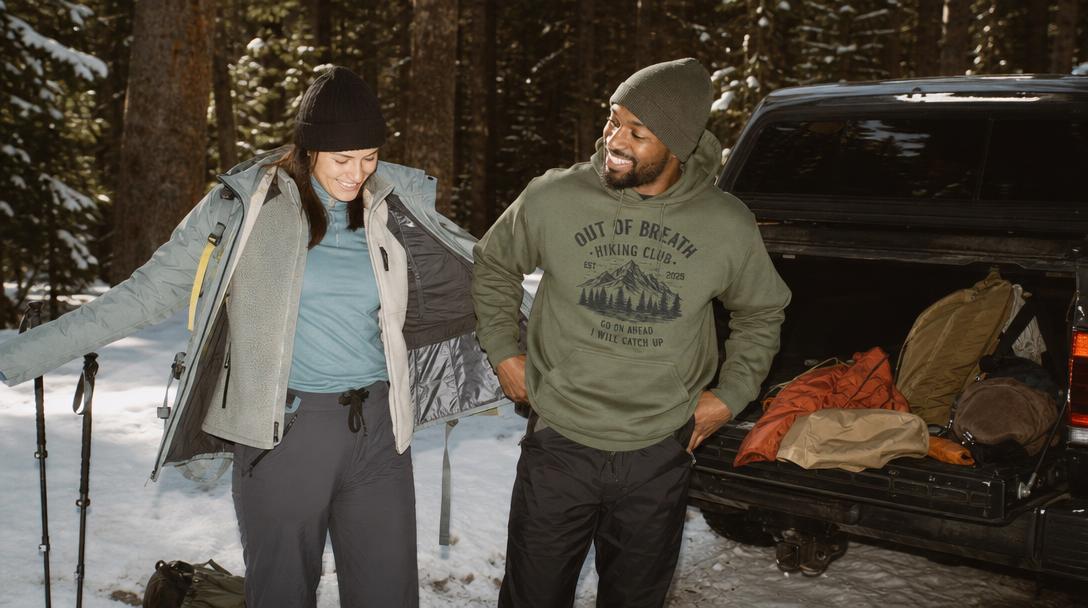
Use this winter camping checklist as a seasonal add-on to your normal camping kit. If you already own a tent, stove, first aid kit, and headlamp, this is the winter-specific layer you stack on top.
Winter Shelter and Sleep System
- 4-season tent or sturdy 3-season tent for mild winter conditions
- Snow stakes, deadman anchors, or extra guylines
- Groundsheet or footprint
- Sleeping bag rated at least 10°F colder than the expected low
- Sleeping bag liner for extra warmth
- Insulated sleeping pad with R-value around 4+ for mild winter, 5+ for colder trips
- Closed-cell foam pad to stack under your inflatable pad
- Pillow or stuff sack with dry clothes
- Dry sleep clothes stored in a waterproof bag
- Hot water bottle rated for boiling water use
- Emergency bivy or space blanket
Treeline Review and REI both emphasize that ground insulation is a major winter comfort and safety factor. A warm sleeping bag will not perform well if the cold ground is pulling heat from underneath you.
Winter Camping Clothes and Layers
- Moisture-wicking base layers: top and bottom
- Midweight or heavyweight thermal bottoms
- Fleece, wool, synthetic hoodie, or sweatshirt for midlayer warmth
- Puffy jacket: down for dry cold, synthetic for damp conditions
- Waterproof or windproof shell jacket
- Waterproof or softshell pants
- Insulated pants or fleece pants for camp
- Warm hat or beanie
- Balaclava, buff, or neck gaiter
- Liner gloves
- Insulated gloves or mittens
- Waterproof shell mitts for snow or wet weather
- Wool or synthetic socks
- Extra dry sleep socks
- Winter boots
- Gaiters for snow, slush, and deep powder
- Camp booties or insulated slippers for car camping
A cozy sweatshirt or hoodie can be a perfect campfire layer when conditions are dry and calm. Just avoid cotton as your next-to-skin layer because cotton holds moisture and can chill you quickly. For car camping and dry camp lounging, a casual layer like the Camp Life Sweatshirt can add comfort over proper base layers.
Snow, Ice, and Short-Day Gear
- Microspikes or traction devices
- Snowshoes or skis if snow depth requires them
- Trekking poles with snow baskets
- Extra headlamp batteries or rechargeable power bank
- Lantern for long evenings
- Sunglasses or glacier glasses
- Sunscreen and lip balm with SPF
- Small snow shovel
- Brush for clearing snow off tent and gear
- Thermometer or weather app backup
- Map and compass, not just phone GPS
Winter days are short, and cold drains batteries faster. Bring backup light even for easy trips. Getting back to camp after sunset while your phone is at 3% is not the wholesome woodland vibe we are chasing.
Food, Water, and Stove Upgrades
- Insulated water bottle sleeves
- Wide-mouth bottles, which freeze less easily than narrow-mouth bottles
- Thermos for hot drinks or soup
- Extra fuel, because snow melting and cold temps use more
- Liquid-fuel stove for very cold trips, or winter-rated canister setup
- High-calorie snacks that will not freeze into dental weapons
- Electrolytes or warm drink mixes
- Pot lid to save fuel when melting snow
- Lighter, stormproof matches, and fire starter stored separately
In winter, dehydration sneaks up because you may not feel sweaty. But you are still losing moisture through breath, effort, and dry air. Sip often, even if your bottle looks like it is auditioning for an ice sculpture contest.
What Winter Camping Layers Do You Actually Need?
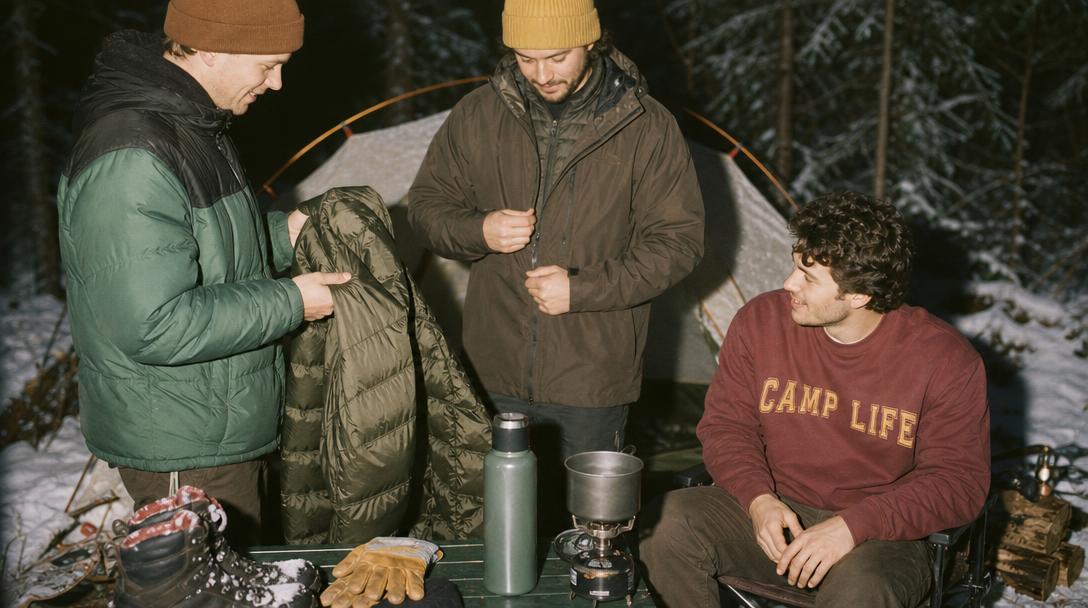
Winter camping layers should follow a simple system: base layers move sweat off your skin, midlayers trap warm air, and outer layers block wind, snow, and rain. Add or remove layers before you sweat or shiver. Staying dry is the real goal because damp clothing loses warmth quickly in cold weather.
Think of your layering system as a thermostat you can adjust all day. If you want a deeper clothing breakdown, our guide to what to wear hiking in cold weather explains the 3-layer rule in practical trail terms.
1. Base Layers: Your Moisture Manager
Base layers sit next to your skin. Their job is not to make you feel like a marshmallow in a sleeping bag. Their job is to keep sweat moving away from your body.
Good materials include:
- Merino wool: warm, odor-resistant, comfortable, usually pricier
- Synthetic polyester blends: fast-drying, durable, often budget-friendly
- Silk: lightweight, less common, good for low-output use
Avoid cotton long underwear. Cotton absorbs sweat and dries slowly, which can make you dangerously cold when you stop moving.
For the best base layers for winter hiking, choose weight based on effort and temperature:
- Lightweight: active hiking near freezing
- Midweight: most winter camping and hiking
- Heavyweight: very cold camp wear or low-output activity
2. Midlayers: Your Heat Trap
Midlayers hold warm air close to your body. This is where fleece, wool sweaters, synthetic hoodies, insulated vests, and puffy jackets shine.
Good midlayer options:
- Fleece hoodie or pullover: breathable, reliable, affordable
- Wool sweater: warm and naturally odor-resistant
- Synthetic insulated jacket: better in damp conditions
- Down jacket: excellent warmth-to-weight ratio in dry cold
- Sweatshirt or hoodie: great for dry campfire lounging, especially for car camping
If you are sitting around camp, you will want more insulation than you needed while hiking. A funny trail sweatshirt under a shell or over a base layer is a perfectly respectable “I came here for trees and snacks” move. For casual campsite warmth, the Out of Breath Mountains Hoodie fits the dry-campfire-layer role nicely.
3. Shell Layer: Your Weather Shield
Your shell protects you from wind, snow, sleet, and freezing rain.
Look for:
- Waterproof or highly water-resistant fabric
- Windproof construction
- Pit zips or vents
- Adjustable hood
- Cuffs that fit over gloves
- Room for layers underneath
A winter shell does not need to be heavily insulated if you already have a puffy jacket. In fact, a non-insulated shell is often more versatile because you can adjust warmth underneath.
How Do You Choose a Winter Camping Jacket?
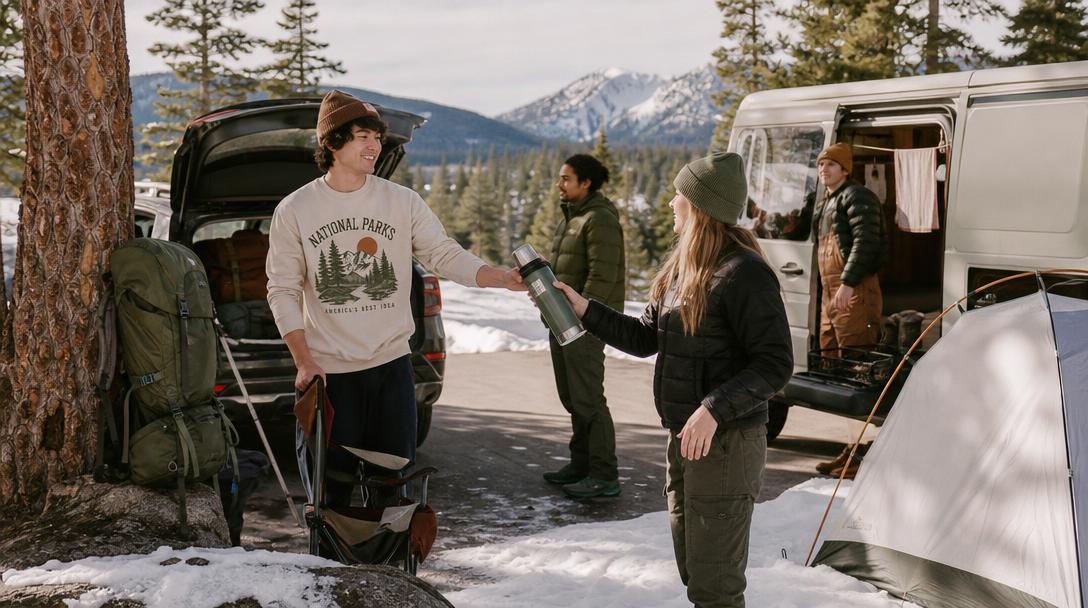
Choose a winter camping jacket based on temperature, moisture, activity level, and pack space. Down jackets offer the best warmth for weight in dry cold, while synthetic insulation performs better in damp weather. For deep cold, bring both an insulating puffy and a waterproof shell rather than relying on one bulky coat.
A winter camping jacket is not always one jacket. Often, the warmest and most flexible setup is:
- Base layer
- Fleece or light insulated midlayer
- Puffy jacket
- Waterproof shell
When comparing the best winter camping jacket options, think in categories instead of chasing one perfect unicorn jacket.
Budget Jacket Setup
Best for: car camping, mild winter, beginners
- Fleece midlayer
- Synthetic puffy
- Rain shell or snow shell
Tradeoff: bulkier and heavier, but affordable and durable.
Lightweight Backpacking Setup
Best for: hiking into camp, weight-conscious trips
- Merino or synthetic base layer
- Lightweight fleece
- Down puffy
- Ultralight shell
Tradeoff: expensive and requires better moisture management.
Comfort-First Deep Cold Setup
Best for: car camping, family trips, below-freezing camp lounging
- Midweight or heavyweight base layers
- Thick fleece or wool layer
- Parka-length puffy
- Waterproof shell if snow or wind is expected
Tradeoff: very warm, but bulky and not ideal for long climbs.
Temperature-Based Winter Camping Checklist Modules
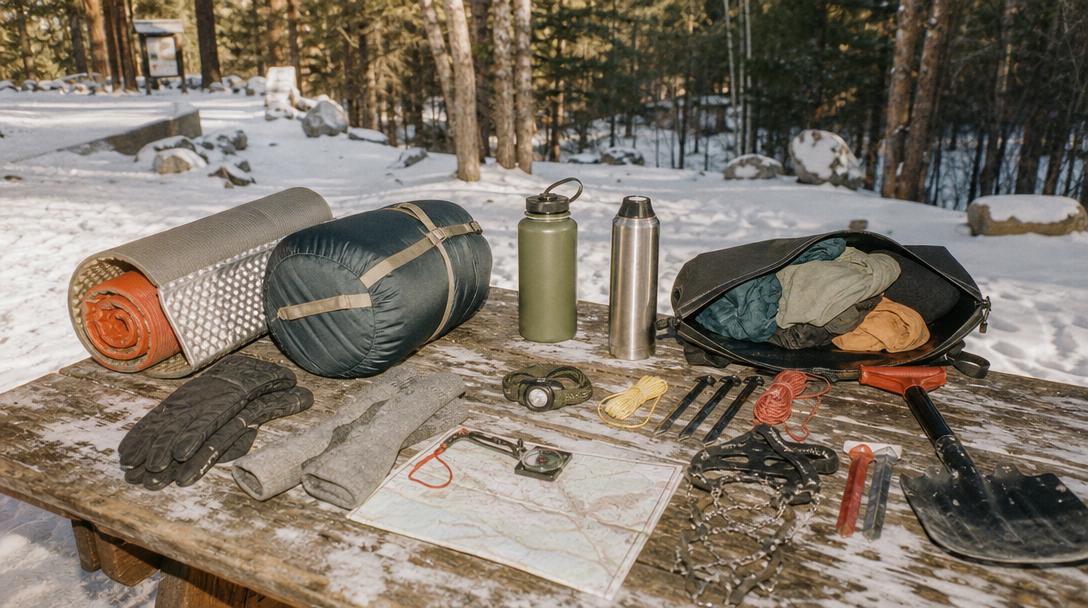
Temperature ratings are personal. Some people sleep warm. Some people become a sad popsicle at 45°F. Use these modules as practical starting points, then adjust for wind, humidity, elevation, and your own cold tolerance.
Around 30°F: Mild Winter or Shoulder-Season Freeze
This is the frosty morning, manageable afternoon zone.
- Midweight base layers
- Fleece or hoodie midlayer
- Puffy jacket for camp
- Warm hat
- Liner gloves plus insulated gloves
- Wool socks plus spare dry pair
- Sleeping bag rated around 20°F
- Sleeping pad R-value around 4
- Microspikes if trails are icy
At 30°F, sweat management matters because you may warm up quickly while hiking. Start slightly cool and add layers when you stop.
Around 20°F: True Winter Camping
This is where gear gaps become obvious.
- Midweight or heavyweight base layers
- Fleece pants or insulated pants for camp
- Down or synthetic puffy
- Waterproof or windproof shell
- Balaclava or neck gaiter
- Insulated mittens
- Winter boots
- Sleeping bag rated around 0°F to 10°F
- Sleeping pad R-value 5+
- Foam pad under inflatable pad
- Hot water bottle for sleeping bag
A 20°F night is much easier when you change into dry sleep clothes before bed. Do not sleep in the damp base layer you hiked in.
Around 0°F: Cold-Weather Commitment Mode
This is not casual “oops, forgot my gloves” territory.
- Heavyweight base layers for camp
- Separate active base layer for hiking
- Thick fleece or insulated midlayer
- Expedition-weight puffy or parka
- Insulated pants
- Mittens plus liner gloves
- Vapor barrier or very warm socks if experienced with them
- Insulated winter boots
- Sleeping bag rated -10°F to 0°F
- Two sleeping pads: foam plus insulated inflatable
- Full-face protection for wind
- Stove system that performs in severe cold
At 0°F, backpacking gets heavier and more technical. Test your sleep system close to home before taking it deep into the backcountry.
Below 0°F: Advanced Winter Camping
Below-zero trips require experience, redundancy, and conservative decision-making.
- Expedition-grade parka
- Heavy insulated pants
- Double boots or very warm winter boots
- Multiple glove systems
- Face mask, balaclava, and goggles if windy
- Sleeping bag rated well below forecasted lows
- High-R-value pad stack
- Liquid-fuel stove or proven extreme-cold stove
- Emergency communication device
- Backup fire-starting tools
- Extra calories and hot drinks
For below-zero conditions, do not rely on a single critical item. Bring backups for hands, feet, fire, water, and navigation.
Backpacking vs Car Camping vs Van Life vs Snow Camping
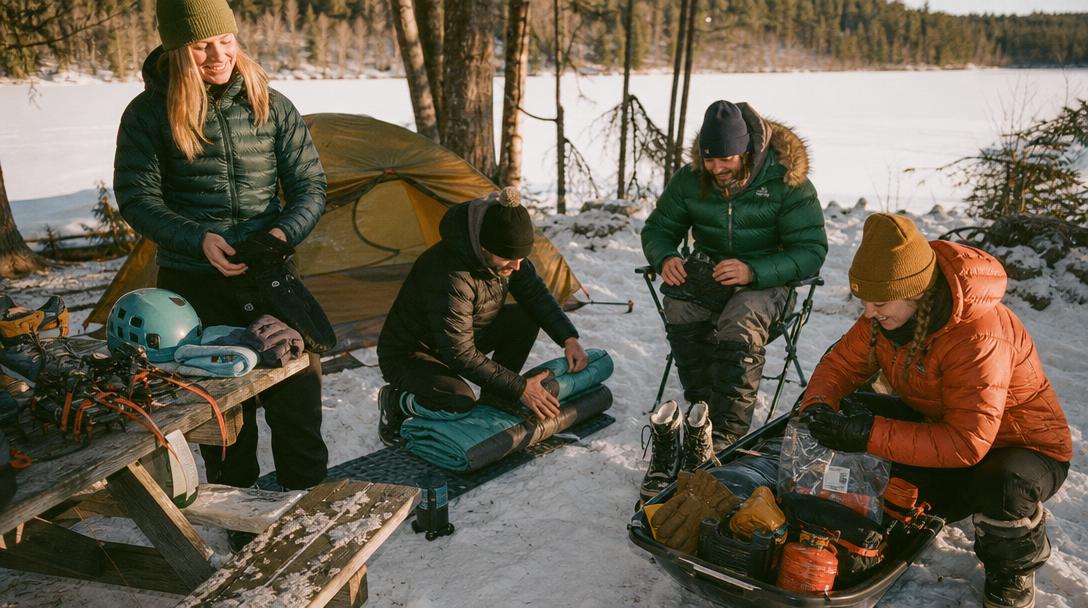
Winter camping looks very different depending on how far you are from the trailhead. Your checklist should match the trip, not someone else’s Instagram suffering festival.
Winter Backpacking
Priorities: weight, packability, safety redundancy
- Lightweight 4-season or strong 3-season tent
- Down sleeping bag if conditions are dry
- High-R-value inflatable pad plus foam pad
- Lightweight puffy jacket
- Compact shell
- Minimal but complete glove system
- Liquid fuel or cold-capable stove
- Microspikes or snowshoes as needed
Tradeoff: ultralight gear saves energy but costs more and usually requires more skill.
Winter Car Camping
Priorities: comfort, warmth, backup gear
- Heavier tent or canvas-style shelter if appropriate
- Extra blankets
- Bigger sleeping pad or cot with insulation underneath
- Camp chair with insulated seat pad
- Extra hoodie or sweatshirt
- Spare boots or camp shoes
- Full-size cooler to keep food from freezing too hard
- More hot drinks than you think you need
Tradeoff: heavier gear is fine, so bring comfort items. This is where the cozy campfire sweatshirt earns its keep. If your trip includes campground coffee, national park mornings, and lots of standing around the fire ring, the America’s Best Idea National Park Sweatshirt is a fitting casual layer.
Winter Van Life Camping
Priorities: condensation control, ventilation, safe heat
- Ventilation strategy to reduce condensation
- Warm bedding layers
- Carbon monoxide detector if using any fuel-based heater
- Insulated window covers
- Boot tray for snow
- Drying line for damp layers
- Backup sleeping bag
Never run unsafe heaters in enclosed spaces. Follow manufacturer instructions and keep ventilation in mind.
Snow Camping
- Snow shovel
- Snow stakes or deadman anchors
- Snowshoes or skis
- Gaiters
- Waterproof gloves or shell mitts
- Extra socks
- Sunglasses and sunscreen
- Stove fuel for melting snow
Snow camping can be beautiful, but it adds work. Melting snow for water takes time and fuel, and anchoring a tent in snow requires different techniques than staking into dirt.
Common Winter Camping Mistakes to Avoid
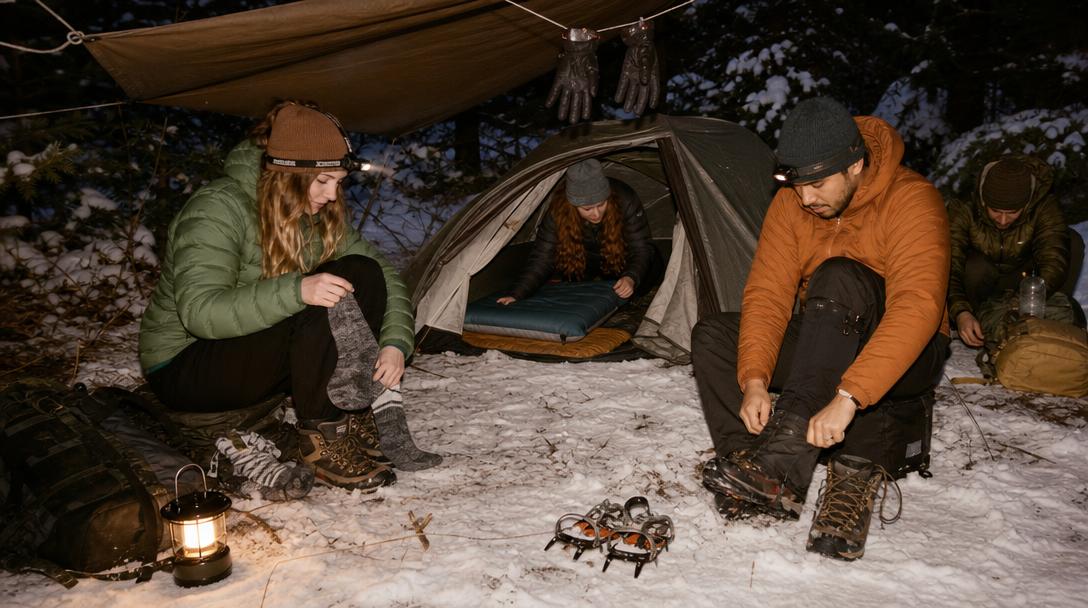
Common winter camping mistakes include wearing cotton, overdressing while hiking, underestimating sleeping pad warmth, bringing only one pair of gloves, forgetting traction, arriving after dark, and sleeping in damp clothes. Most cold-weather problems start with moisture, poor timing, or assuming summer camping habits still work.
Avoid these frosty facepalms:
- Starting too warm: If you are hot in the first five minutes, remove a layer.
- Ignoring sweat: Sweat becomes cold fast when you stop.
- Skipping the foam pad: Ground insulation matters as much as bag warmth.
- Trusting one glove pair: Gloves get wet, lost, or frozen.
- Wearing tight boots: Compressed socks and poor circulation make feet colder.
- Forgetting gaiters: Snow in boots is a direct path to misery.
- Setting up camp too late: Winter darkness comes early.
- Not eating enough: Your body burns more energy staying warm.
- Leaving water bottles upright overnight: Store them upside down; ice forms at the top first.
- Breathing into your sleeping bag: It adds moisture to insulation.
A simple rule: if something gets wet, dry it, swap it, or protect it before it becomes a bigger problem.


