


Hiking Alone: Beginner Safety Guide | Hike Tee
Dominic PalmowskiBeginner Hiking Safety Starts With Choosing the Right Solo Trail
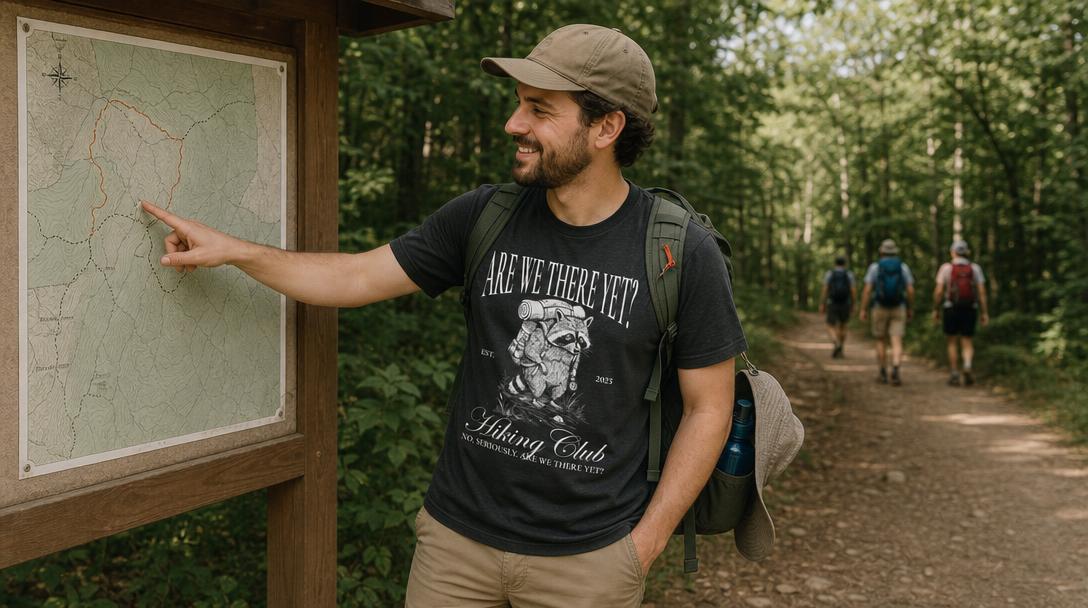
Most solo hiking safety tips for beginners start with “choose an easy, well-marked trail.” True! Also… not specific enough.
A trail can be “easy” on paper and still be a bad first solo hike if it has poor signage, confusing junctions, no shade, sketchy parking, sudden weather exposure, or 47 nearly identical side trails that all look like “probably this way.”
For your first few solo hikes, choose trails using these criteria.
The Best First Solo Trail Has These Features
Look for a trail that is:
- 2 to 4 miles total for your first solo outing
- Under 500 feet of elevation gain if you’re new to hiking
- Loop or out-and-back, not a complicated network of connectors
- Popular but not overcrowded, meaning you’ll likely see other hikers
- Well-marked with signs or blazes
- Close to town or a ranger station
- Within reliable daylight hours
- Recently reviewed or updated online
- Not dependent on river crossings, scrambling, snow travel, or exposed cliffs
If you’re hiking in a National Park, start with official park-recommended easy trails. Many parks list trail difficulty, distance, elevation gain, closures, and seasonal hazards on their websites or in visitor centers. For bigger park trips, pair your route research with a practical National Park packing list so your day hike gear matches the terrain.
If you’re hiking near home, county parks, state parks, nature preserves, and rail trails are fantastic beginner options. Your first solo hike does not need to be a dramatic summit. A peaceful forest loop with a bench and a chipmunk audience absolutely counts.
Red Flags for a First Solo Hike
Skip a trail for now if it includes:
- Multiple unmarked intersections
- “Route finding required” in trail descriptions
- Recent reviews mentioning people getting lost
- Steep drop-offs or exposed ledges
- Snow, ice, or muddy washouts
- Long stretches without shade during hot weather
- Poor parking safety or isolated trailheads
- Wildlife warnings you don’t know how to handle
- No recent trail condition reports
This is not fear-based planning. This is “future you would like to get tacos after hiking” planning.
How to Hike Alone Safely as a Beginner: Pre-Hike Checklist
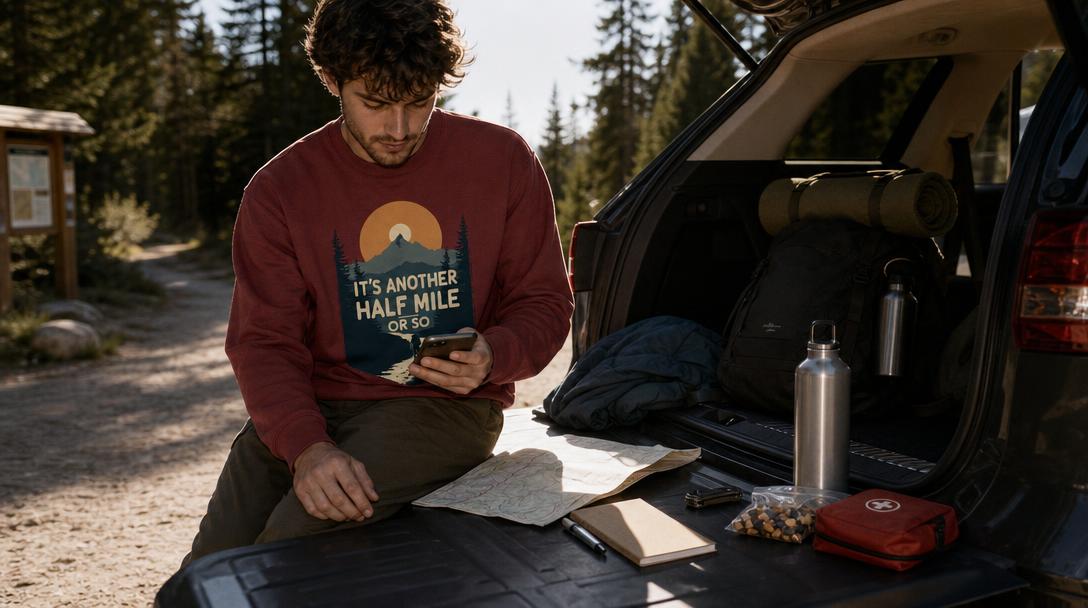
Use this as your one-page planning template. Screenshot it, copy it into your notes app, or write it on paper like a woodland grandparent with excellent survival instincts.
Your Route Plan
Before hiking alone, write down:
- Trail name:
- Park or trailhead:
- Total distance:
- Elevation gain:
- Estimated hiking time:
- Planned start time:
- Hard turnaround time:
- Expected finish time:
- Parking location:
- Backup shorter route:
- Nearest ranger station or emergency contact:
A good beginner estimate is 30 minutes per mile, plus extra time for hills, photos, snack breaks, and “why am I breathing like a tired raccoon?” moments.
Your Weather and Conditions Check
Check:
- Hourly forecast, not just daily forecast
- Temperature at the trail location
- Wind, rain, storms, snow, or heat advisories
- Sunset time
- Trail closures or alerts
- Recent trail reviews
- Fire danger, if relevant
- Road or parking conditions
The CDC recommends planning outdoor activity during cooler parts of the day during extreme heat, drinking plenty of fluids, and watching for heat illness symptoms such as dizziness, nausea, confusion, heavy sweating, or rapid pulse.
Your “Tell Someone” Message Template
Send this to a trusted person before you go:
“I’m hiking [trail name] at [park/location]. I’m starting around [time] and expect to be done by [time]. My route is [loop/out-and-back/details]. If you haven’t heard from me by [check-in deadline], please call/text me first, then contact [park office/local sheriff/ranger station]. My car is parked at [trailhead/lot].”
Make the check-in deadline realistic. If you expect to finish at 1:00 p.m., maybe set your “take action” time at 3:00 p.m., depending on the trail and cell coverage.
Your Turnaround Rule
Before starting, decide:
- “I turn around at [time], no matter what.”
- “I turn around if weather changes.”
- “I turn around if I lose the trail.”
- “I turn around if I feel uncomfortable.”
- “I turn around if my water reaches half.”
REI’s hiking safety guidance emphasizes knowing when to bail. Turning around is not failure. It is advanced wisdom wearing muddy shoes.
What to Pack for a Solo Day Hike
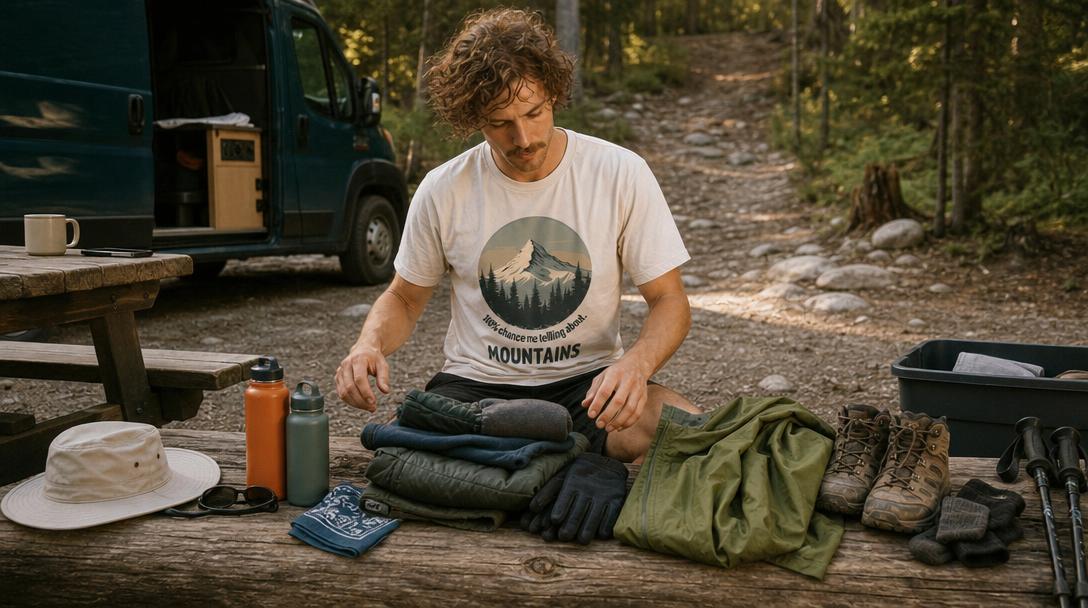
When people ask what to pack for a solo day hike, the honest answer is: enough to handle small problems before they become big ones.
The National Park Service recommends carrying the Ten Essentials, which include navigation, sun protection, insulation, illumination, first aid, fire, repair tools, nutrition, hydration, and emergency shelter.
For beginner solo hiking, here’s the practical version.
Beginner Solo Hiking Checklist: The Core Kit
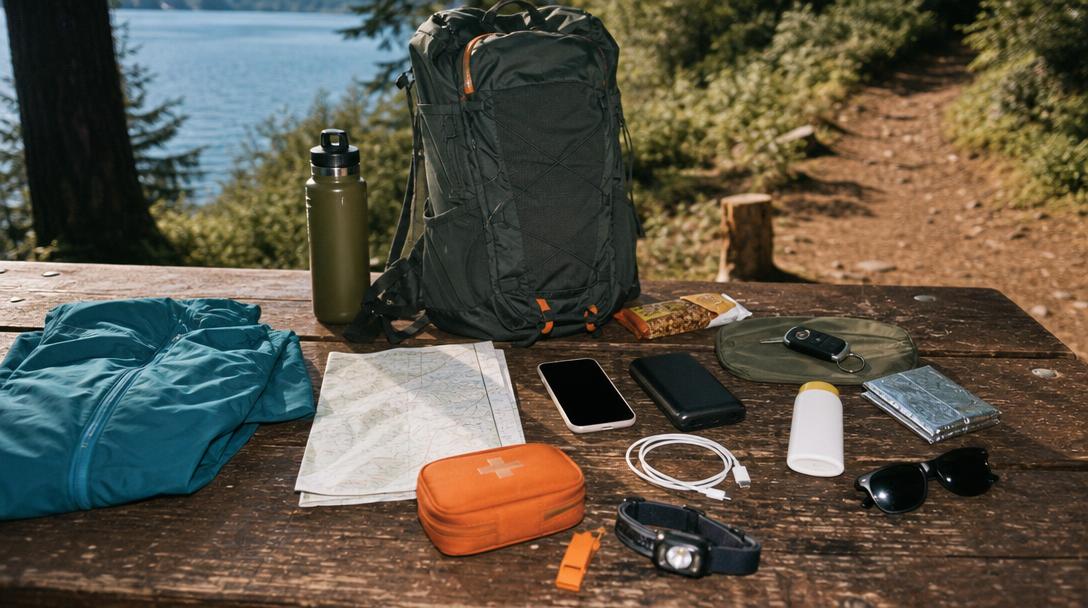
Pack these for every solo day hike:
- Water
- Extra snacks
- Fully charged phone
- Offline map downloaded before leaving home
- Paper map or printed route screenshot
- Small first-aid kit
- Headlamp or flashlight
- Extra layer
- Rain jacket or wind shell
- Sun protection: hat, sunglasses, sunscreen
- Whistle
- ID and emergency contact info
- Small power bank and charging cable
- Knife or multitool
- Emergency blanket
- Any personal medications
- Car key secured in a zip pocket, not dangling from a backpack clip
A headlamp might feel silly for a morning hike until a wrong turn, twisted ankle, or surprise sunset turns the forest into a spooky podcast setting.
Best Gear for Solo Hiking Beginners by Trip Length
For a 1–2 hour local hike, bring:
- Water
- Snack
- Phone with offline map
- Small first-aid kit
- Weather-appropriate layer
- Whistle
- Headlamp
For a half-day hike, add:
- Extra water
- Extra food
- Power bank
- Paper map
- Emergency blanket
- Rain shell
- More robust first aid
- Trekking poles if terrain is uneven
For a remote or low-service hike, consider:
- Satellite messenger or personal locator beacon
- More water capacity or water filter
- Extra insulation
- Backup navigation device
- More detailed printed map
- Emergency shelter
REI notes that cell service can be unreliable in mountains and backcountry areas, and solo hikers may want to consider a satellite messenger or personal locator beacon in places where self-rescue would be difficult.
Gear Choices by Weather and Environment
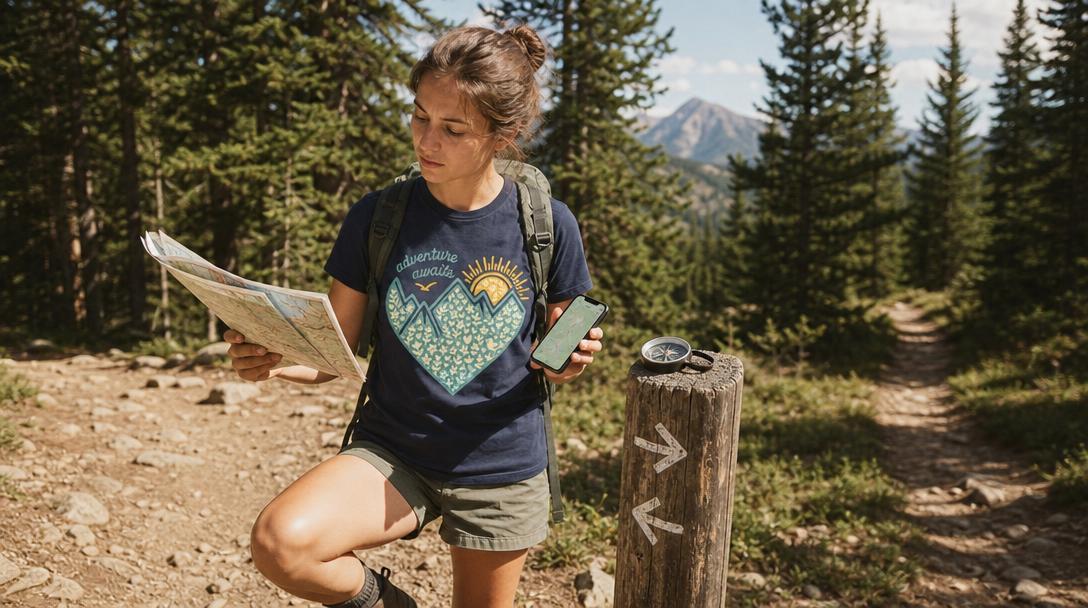
Packing well does not mean buying every shiny outdoor gadget. It means matching your gear to the conditions.
Hot, Sunny Trails
Bring:
- More water than you think you need
- Electrolytes or salty snacks
- Wide-brim hat or cap
- Sunglasses
- SPF 15+ broad-spectrum sunscreen, as recommended by the CDC
- Lightweight, breathable clothing
- Cooling bandana
- Early start time
Avoid hiking exposed desert or ridge trails during peak afternoon heat. If you feel dizzy, nauseated, confused, weak, or stop sweating in high heat, stop immediately, get shade, cool down, and seek help.
Cold or Windy Trails
Bring:
- Warm base layer
- Fleece or insulated jacket
- Wind shell or rain shell
- Gloves
- Warm hat
- Extra socks
- Emergency blanket
- Hot drink in a thermos, if you’re fancy like that
Cold weather gets riskier when sweat meets wind. Dress in layers so you can avoid overheating on climbs and chilling during breaks.
Rainy or Muddy Trails
Bring:
- Waterproof rain jacket
- Shoes or boots with good traction
- Wool or synthetic socks
- Dry bag or zip bag for phone
- Trekking poles
- Extra socks
- A towel or clean shoes for the car
Avoid steep muddy trails if you’re new. Slipping downhill alone is both scary and deeply undignified.
National Parks, Camping Trips, and Van Life Hikes
If you’re hiking solo while camping, road-tripping, or doing a van life adventure, be extra intentional. It’s easy to casually wander from a campground trail after breakfast and forget that no one knows where you went.
- Tell a campground host, friend, or family member your plan
- Note your campsite number or van location
- Download maps while you still have Wi-Fi
- Bring layers even if camp feels warm
- Check park alerts at the visitor center
- Ask rangers about current trail conditions
Also: change out of your cozy camp sweatshirt if it’s cotton and the weather might turn wet. Save the casual graphic tee for post-hike marshmallow supervision, whether that’s a 5 Billion Star Hotel Shirt at camp or your favorite dry layer back at the van.
Navigation Tech for Hiking Alone
Your phone is useful. Your phone is not a plan by itself.
For trail safety, think in layers: primary navigation, backup navigation, and emergency communication.
Step 1: Download Offline Maps Before You Go
Use an app that allows offline maps, such as:
- AllTrails
- Gaia GPS
- onX Backcountry
- FarOut for some long-distance routes
- NPS app for participating National Park maps
- Google Maps offline area for roads and trailhead access
Before leaving home or Wi-Fi:
- Open your trail route.
- Download the map for offline use.
- Save or favorite the trail.
- Screenshot the route overview.
- Screenshot driving directions to the trailhead.
- Screenshot trail stats: distance, elevation, estimated time.
- Put your phone on low power mode if needed.
American Hiking Society also advises downloading trail information for offline use before leaving cell service. If you’re comparing emergency communication options, this guide to choosing a GPS tracker for hiking is a helpful next read.
Step 2: Bring Redundancy
Redundancy means having a backup when your first tool fails.
Beginner-friendly navigation redundancy could look like:
- Phone with offline map
- Printed trail map
- Screenshot of route
- Power bank
- Trailhead photo of posted map
- Basic compass
For more remote solo hiking:
- Phone with offline map
- Paper topo map
- Compass
- GPS device
- Satellite messenger or PLB
If you’re thinking, “But I don’t know how to use a compass,” that’s okay. Learn on easy trails before you need it. Practice identifying north, matching your map to the landscape, and noticing trail junctions.
Step 3: Track Your Progress
While hiking:
- Check your map at every junction
- Confirm trail names or blaze colors
- Notice landmarks
- Look behind you occasionally so the return route looks familiar
- Don’t follow random hikers assuming they know where they’re going
- If the trail suddenly becomes faint, stop and reassess
A surprising number of wrong turns happen because someone confidently walks past a sign while thinking about snacks.
Women-Specific Solo Hiking Safety Advice
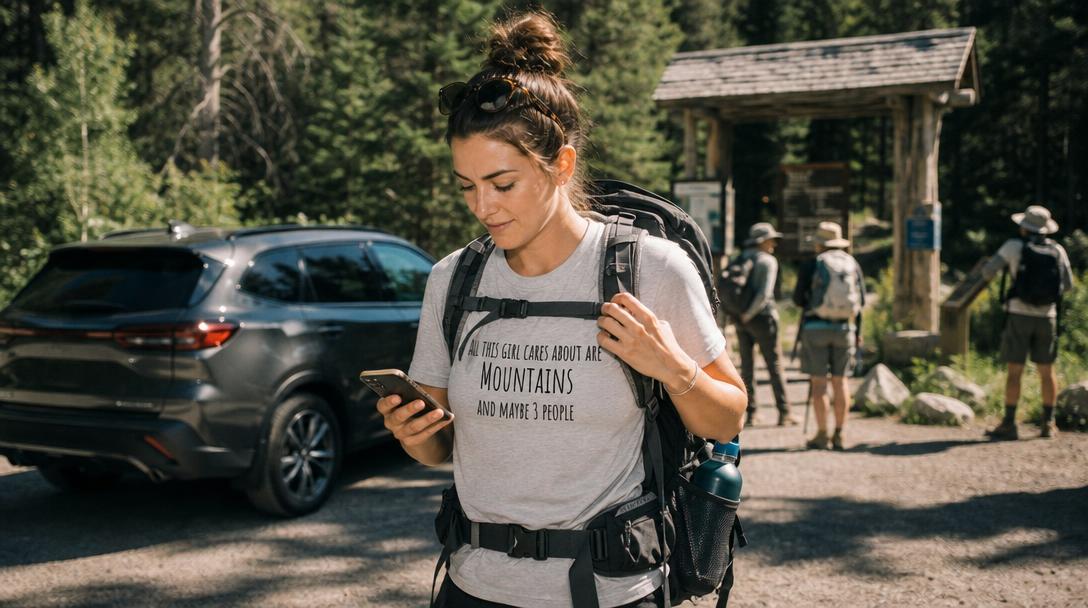
Women should not have to carry extra mental load to enjoy the outdoors. Also, many women do think differently about hiking alone because of lived experience, and practical advice matters.
Here’s the balanced version: most trails are safe, most people are decent, and your comfort is a valid safety tool.
Choose Confidence-Building Conditions
For early solo hikes:
- Go during daylight
- Choose popular trails
- Avoid isolated trailheads at odd hours
- Park in visible, established areas
- Trust your gut if someone or something feels off
- Don’t announce online where you are in real time
- Share live location with a trusted person when service allows
- Use headphones cautiously, or keep one ear open
Handling Uncomfortable Encounters
If another person makes you uncomfortable:
- Keep distance
- Stay polite but brief
- Don’t share that you’re alone
- Say, “I’m meeting my group up ahead”
- Move toward other hikers or open areas
- Turn around if needed
- Call someone if you have service
- Leave the trail if your instincts say leave
You do not owe strangers your route, campsite, relationship status, or emotional labor. “Have a good hike!” while continuing to walk is a complete conversation.


