


How to Hang a Blanket on the Wall | Hike Tee
Dominic PalmowskiHow to hang a blanket on the wall without sagging, stretching, puncturing, or creating a dorm-room blanket fort comes down to one thing: match the hanger to the blanket weight, fabric, and room. A woven throw can look incredible as wall art in a living room, cabin, camper van, RV, rental apartment, or National Park-inspired nook.
A blanket wall hanging adds warmth, texture, and trail personality in a way framed prints sometimes cannot. It works especially well with rustic cabin corners, soft van-life interiors, reading nooks, and outdoor-inspired spaces. If you like nature-forward decorating, you may also enjoy these nature-themed gift and decor ideas.
Here is the practical guide: seven hanging methods, when to use each, what they cost, how much wall damage to expect, and how to keep your textile looking good for the long trail ahead.
| Method | Material | Price | Best For | Tools Needed | Wall Damage | Typical Weight Range |
|---|---|---|---|---|---|---|
| Curtain rod or wooden dowel | Wood or metal rod, brackets | $15-$60 | Clean tapestry look, medium throws | Level, screws, anchors | Moderate | Light-medium |
| Quilt hanger or compression rail | Wood clamp rail | $25-$100+ | Heavy woven throws, polished display | Level, screws, anchors | Moderate | Medium-heavy |
| Clip rings on a rod | Metal or wood clips and rod | $10-$40 | No-sew blanket wall hanging | Level, rod hardware | Low-moderate | Light-medium |
| Sewn sleeve and rod | Cotton sleeve plus rod or slat | $10-$50 | Textile preservation, even support | Needle and thread or sewing machine | Moderate | Medium-heavy |
| Hook-and-loop rail | Sewn tape plus wood rail | $15-$45 | Sturdy textiles, flat display | Sewing supplies, screws | Moderate | Medium |
| No-drill adhesive hooks | Removable hooks or clips | $8-$30 | Renters, dorms, lightweight throws | Cleaning cloth, level | Low if removed properly | Light only |
| Blanket ladder or draped rail | Wood or metal ladder or rack | $30-$150 | Zero wall holes, cabins, living rooms | None or anti-tip hardware | None-low | Most throws |
Blanket wall hanging basics: choose the right method first
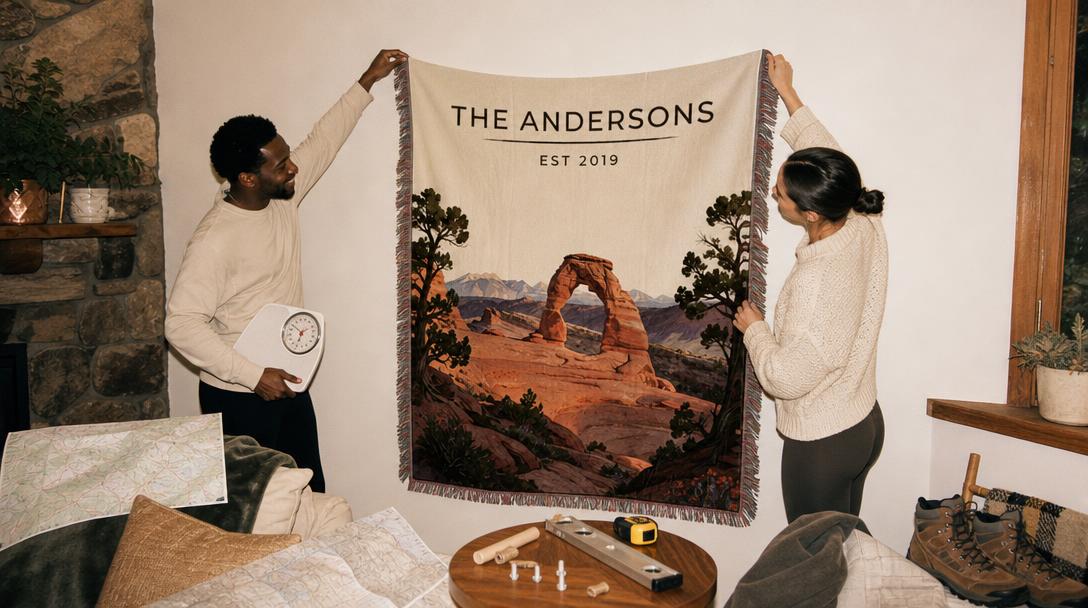
Before buying hardware, weigh the blanket and inspect the weave. A tight, sturdy woven throw can handle more hanging options than a loose, lacy, hand-knit, antique, or fringe-heavy textile.
A quick home method: step on a bathroom scale while holding the blanket, then subtract your body weight. Not glamorous, but neither is discovering your wall art became a floor rug overnight.
Blanket weight decision guide
Use this as your trail map before choosing hardware:
-
Under 2 lb: lightweight throw, scarf, or small tapestry blanket
Best methods: adhesive hooks, clip rings, magnetic poster rails, small dowel.
Avoid: oversized compression rails that overpower the textile visually. -
2-5 lb: most woven throws and decorative blankets
Best methods: curtain rod, sewn sleeve, quilt hanger, hook-and-loop rail.
Avoid: only two clips at the corners, which causes sagging and stress. -
5-8+ lb: heavy woven blanket, thick wool-style throw, large textile
Best methods: quilt hanger, full-width sleeve and rod, mounted rail into studs.
Avoid: adhesive-only solutions, push pins, nails through fabric. -
Fragile, antique, lacy, loosely woven, or sentimental blanket
Best methods: sewn sleeve with backing support or professional textile mounting.
Avoid: metal clips, pins, staples, direct sunlight, and damp exterior walls.
Textile museums commonly recommend full-width support systems for sturdy blankets, quilts, and rugs. Cotton sleeves and hook-and-loop mounts help distribute weight across the width of the textile instead of concentrating stress at two corners.
Translation: do not hang your beloved woven throw from two sad corner nails and hope for the best. The blanket deserves better. So does your drywall.
The 7 best ways to create a blanket wall hanging
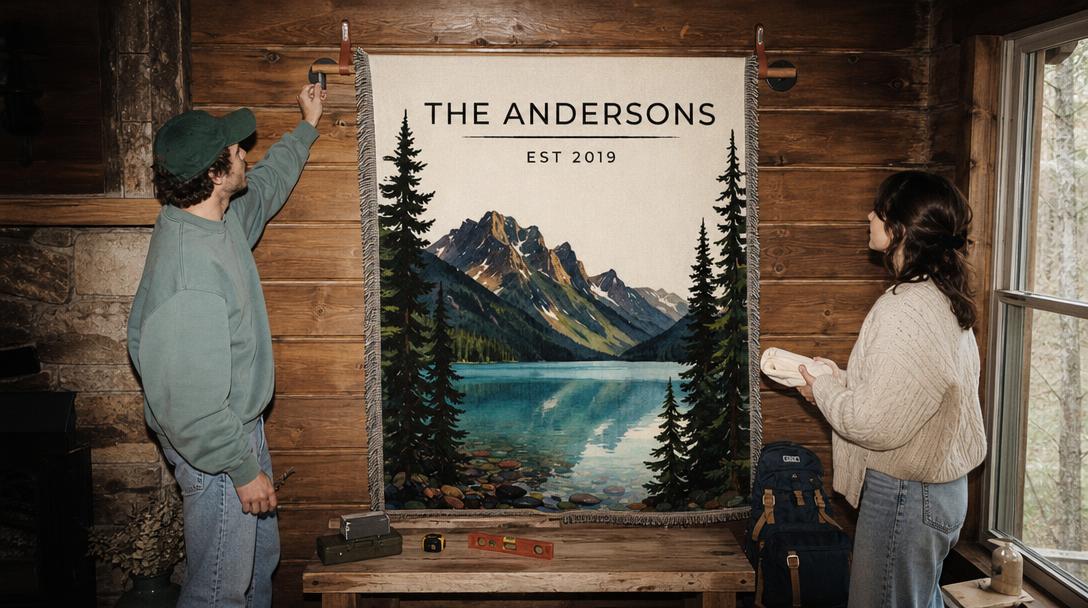
A good blanket wall hanging should support the textile evenly, suit the room, and be easy to remove for cleaning or rotation. For woven throws, the safest-looking method is not always the safest-for-the-fabric method, so choose based on weight, weave, and whether you can drill.
1. Hang it from a curtain rod or wooden dowel
This is the classic woven blanket wall decor method: simple, clean, and easy to style.
You can:
- Fold the blanket over the rod
- Sew loops onto the back
- Use curtain clip rings
- Slide a rod through a sewn sleeve
For a cabin, den, or National Park-themed wall, a natural wood dowel looks especially good. For a modern space, use a black metal curtain rod with minimal brackets.
Best for: medium-weight throws, tapestry throw blankets, cabin decor
Wall damage: requires screws unless mounted with no-drill brackets
Preservation level: good if weight is evenly distributed
[ bracket ] -------- rod or dowel -------- [ bracket ]
| |
| woven throw |
|______________________________________|
Installation tips:
- Measure the blanket width.
- Choose a rod at least 2-6 inches wider than the blanket.
- Mark bracket placement with a level.
- Screw brackets into studs when possible.
- Attach the blanket using loops, clips, or a sleeve.
- Check for sagging after 24 hours.
If the throw is wide or heavy, add a center bracket. It is the unsung hero of blanket-hanging success.
2. Use the best blanket hanger for woven throws: a quilt hanger or compression rail
A quilt hanger is often the best blanket hanger for woven throws when you want a polished, secure display. It uses two pieces of wood or a clamping mechanism to hold the top edge evenly.
This method looks intentional: less I ran out of closet space, more rustic gallery wall.
Best for: heavy woven throws, cabin walls, heirloom-style display
Wall damage: usually requires screws
Preservation level: good if padded and not over-tightened
Look for:
- A wide clamp surface
- Smooth wood with no rough edges
- Multiple mounting points
- A design that does not pinch too aggressively
- Enough width to support most of the blanket top edge
If you plan to buy wall hanger for heavy blanket displays, prioritize a quilt hanger or compression rail that mounts into studs or uses heavy-duty wall anchors rated above your blanket weight. Do not rely on decorative-only rails for thick textiles.
For extra textile protection, place a thin strip of clean cotton fabric between the blanket and clamp. This helps reduce abrasion and pressure marks.
3. Use clip rings on a rod for an easy no-sew option
Clip rings are popular because they are cheap, fast, and flexible. Attach clips along the top edge of the blanket, then slide the rings onto a curtain rod or dowel.
This is one of the easiest ways to hang a tapestry blanket if you do not want to sew anything.
Best for: lightweight to medium woven throws
Wall damage: depends on rod hardware
Preservation level: moderate; use padded clips
Clip spacing matters:
Light throw:
|----8-10 in----|----8-10 in----|----8-10 in----|
Heavier throw:
|--4-6 in--|--4-6 in--|--4-6 in--|--4-6 in--|
Use more clips than you think you need. Two clips create droopy corners and stress points. Six to ten clips across a standard throw usually looks cleaner and distributes weight better.
To protect the blanket:
- Choose wide clips, not tiny alligator clips
- Add felt or cotton pads inside the jaws
- Clip onto a reinforced edge, not fringe
- Avoid rusty or sharp metal hardware
- Check monthly for pressure marks
This method is great for seasonal swaps. Autumn bear blanket? Winter snowy park throw? Summer campfire-raccoon energy? Clip rings make rotation easy.
4. Sew a cotton sleeve on the back and slide in a rod
If you want the most textile-friendly DIY method, sew a cotton fabric sleeve across the back top edge of the blanket and slide a rod or flat slat through it.
Museums and quilt experts often favor sleeve-style hanging because it distributes weight across the width of the textile. A cotton sleeve is especially useful for medium and heavy woven blanket wall decor because it supports the blanket more evenly than corner clips.
Best for: valuable woven throws, quilts, heavier textiles
Wall damage: rod still needs mounting hardware
Preservation level: excellent when done correctly
A sleeve setup looks like this from the back:
Back of blanket
+----------------------------------+
| [ cotton sleeve sewn across ] |
| ===== rod or slat inside ===== |
| |
+----------------------------------+
How to do it:
- Cut a strip of clean cotton fabric slightly shorter than the blanket width.
- Hem the raw edges.
- Hand-sew or machine-sew the sleeve to the back top edge.
- Use stitches that do not show through the front.
- Slide in a smooth dowel, curtain rod, or flat wooden slat.
- Mount the rod or slat to the wall with brackets.
For National Park-inspired spaces, a cotton-sleeve mount works well when you want a woven throw to read like textile art. Photo-style designs such as the Yosemite Tunnel View Woven Blanket or the Arches Delicate Arch Sunset Woven Blanket can become a soft focal point without needing a frame.
If the blanket is delicate, do not sew directly into it unless you are confident. For antique or heirloom pieces, expert conservation advice is worth it.
5. Use a hook-and-loop rail for a flat gallery look
A hook-and-loop rail gives a clean, flush appearance. One side of the tape is sewn to the blanket or to a cotton backing strip. The other side is attached to a wooden rail, which is mounted to the wall.
Best for: sturdy woven blanket wall decor, flat modern displays
Wall damage: rail usually screws into wall
Preservation level: good for sturdy textiles
Important: do not stick adhesive hook-and-loop tape directly to the blanket. Adhesives can leave residue, stiffen fibers, or damage the textile over time. Sew the soft side to a cotton backing strip instead.
Best practice:
- Sew the soft loop side to cotton backing
- Attach the hook side to a smooth wooden rail
- Screw the rail into studs or anchors
- Press the textile in place evenly
- Remove occasionally to inspect for stretching or dust
This is a strong option if you want the blanket to look like textile artwork rather than a draped throw.
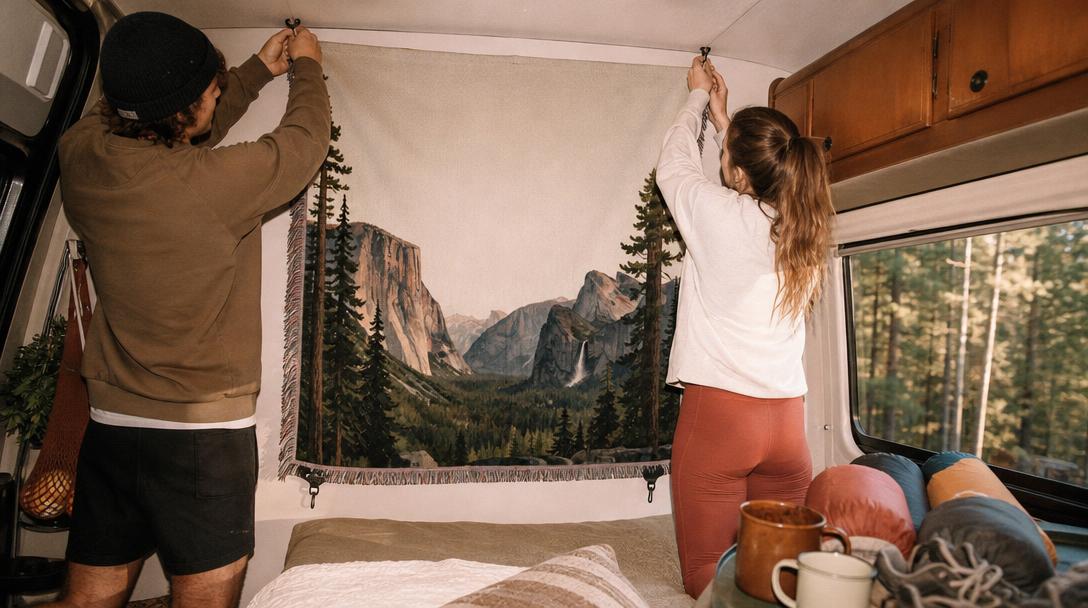
6. Use a no-drill blanket hanger for camper van walls, rentals, and dorms
A no-drill blanket hanger for camper van walls or rental apartments can work beautifully for lightweight blankets, with one major warning: adhesive strength depends on surface type, temperature, humidity, cleanliness, and weight. Camper vans and RVs add vibration, so be extra cautious.
Best for: renters, dorm rooms, lightweight throws, temporary displays
Wall damage: low when removed correctly
Preservation level: moderate if the blanket is clipped to a rod, not directly stuck
For a renter-friendly setup:
[ adhesive hook ] [ adhesive hook ] [ adhesive hook ]
\ | /
lightweight rod or cord
blanket clipped below
Use at least three support points instead of two. A center hook helps reduce sag.
Camper van tips:
- Clean the surface according to the hook maker instructions
- Let adhesive cure for the recommended time before hanging
- Use lightweight rods or webbing instead of heavy wood
- Add bottom corner tabs or soft ties to reduce swinging
- Remove the blanket during rough travel if needed
- Avoid damp, textured, dusty, or heat-exposed surfaces
- Never hang a heavy blanket over a bed or seat using adhesive alone
For camper vans, the safest approach is often to use existing structures: curtain tracks, cabinet handles, ceiling rails, cargo hooks, or removable tension rods. Van life is basically one long vibration test, and your blanket should not be the test dummy.
For more cozy outdoor living ideas beyond wall textiles, see these camp setup ideas for upgrading an outdoor space.
7. Use a blanket wall mount for cabin decor, peg rail, or freestanding ladder
If you want zero wall damage, do not hang the blanket on the wall at all. Lean or drape it near the wall. A blanket ladder gives the same cozy visual effect with almost no commitment.
Best for: renters, cabins, living rooms, frequently used throws
Wall damage: none unless you add anti-tip hardware
Preservation level: good if the blanket is not dragged or crushed
Creative options include:
- Wooden blanket ladder
- Cabin-style peg rail
- Freestanding quilt rack
- Wall-mounted coat hooks
- Branch or driftwood rail
- Rustic ladder secured with anti-tip straps
For a blanket wall mount for cabin decor, a sturdy peg rail installed into studs can be simple and good-looking. Fold the woven throw neatly over one or two pegs so the weight is spread out instead of hanging from one narrow point.
This method is also great if you still use the blanket. Wall art by day, couch cocoon by night. Very efficient. Very bear-in-hibernation.
How do you hang fabric on a wall without nails?
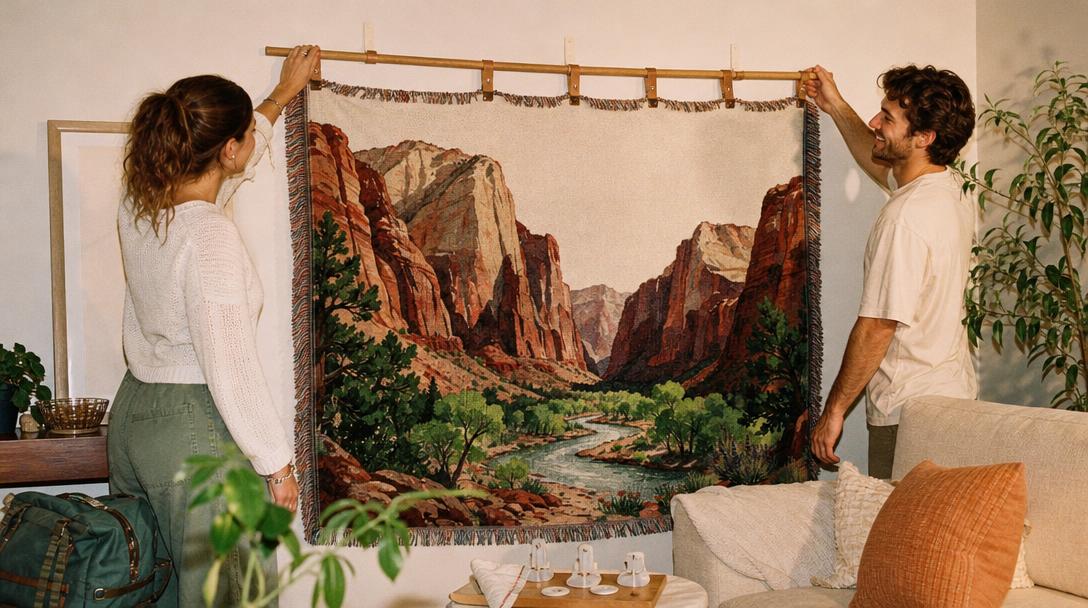
You can hang fabric on a wall without nails by using removable adhesive hooks, tension rods, command-style picture strips, clip-on curtain rings, magnetic poster rails, or a freestanding blanket ladder. For best results, keep the textile lightweight, distribute the weight across several points, and avoid sticking adhesive directly to the fabric.
For renters, the safest no-nail setup is usually:
- Adhesive hooks rated for more than your blanket weight
- A lightweight dowel or tension rod
- Padded clips spaced every 4-8 inches
- Optional lower corner tabs to stop shifting
Avoid these no-nail mistakes:
- Hanging heavy throws from two adhesive hooks
- Using adhesive on textured walls
- Mounting near heaters, vents, or humid windows
- Clipping delicate fabric with sharp metal clips
- Ignoring cure time for adhesive products
If your lease is strict, test any adhesive in a hidden spot and follow removal instructions exactly. Drywall drama is not the souvenir anyone wants.
What are some creative ways to display blankets?
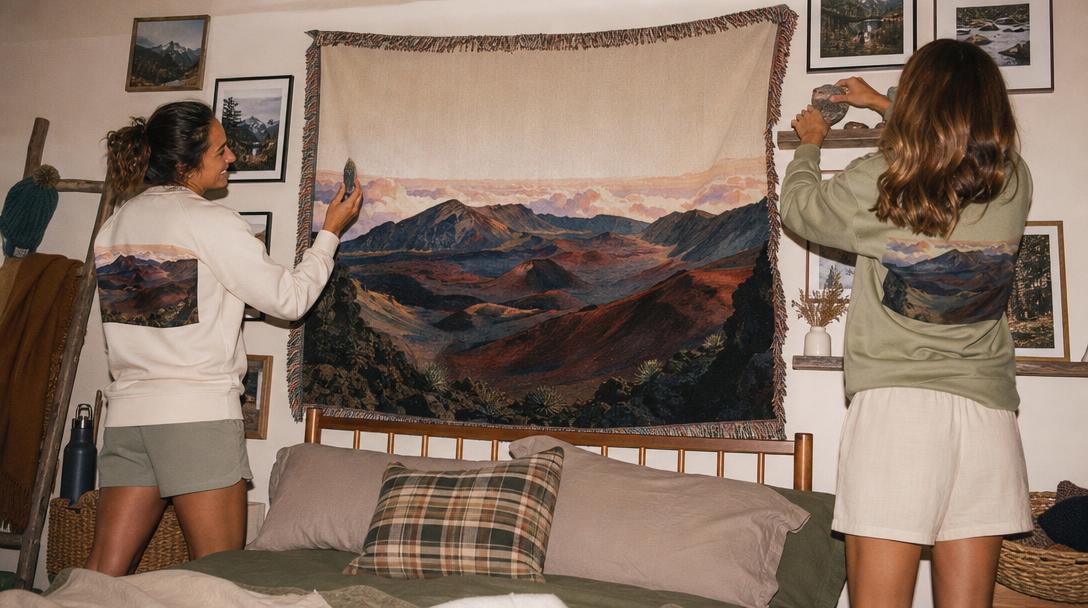
Creative blanket display ideas include turning a woven throw into wall art, layering it over a blanket ladder, draping it from a rustic branch, mounting it on a quilt hanger, folding it over a peg rail, framing it in a shadow box, or rotating seasonal throws as textile decor.
Outdoor-inspired display ideas include:
- National Park gallery wall: Hang a woven park-themed throw beside trail maps, postcards, or framed hiking photos.
- Cabin fireplace wall: Use a wood quilt hanger above a bench or reading chair.
- Camper van soft wall: Clip a lightweight throw to an existing rail for insulation vibes and visual warmth.
- Kids nature room: Hang an animal-themed blanket with padded clips so it can be swapped easily.
- Entryway gear zone: Pair a blanket ladder with baskets for hats, gloves, and trail socks.
- Bedroom headboard alternative: Mount a large woven throw behind the bed for a soft focal point.
- Seasonal rotation: Use clip rings or a rod so you can switch designs without reinstalling hardware.
If you like building a full park-inspired look, pair textile art with trail maps, postcards, and ideas from this guide to choosing National Park graphic tees for the people in the photos, not the wall.
Outdoor-specific tips for cabins, RVs, camper vans, and tents
Camper vans and RVs
Van and RV walls vibrate while driving, so your hanging method needs backup.
Use:
- Existing rails, hooks, or cabinet hardware when possible
- Multiple support points
- Lightweight rods
- Padded clips
- Lower corner restraints
- Removable setups for travel days
Avoid:
- Heavy rails mounted only into thin paneling
- Adhesive-only mounts for heavy throws
- Hanging near condensation-prone windows
- Letting the textile rub against rough wall surfaces
If the blanket shifts while driving, roll it up and secure it before moving. That is not defeat. That is smart trail etiquette for your decor.
Cabins
Cabins are great for woven blanket wall decor, but watch for:
- Wood stove heat
- Direct sun through large windows
- Damp exterior walls
- Moths or pests
- Seasonal humidity changes
Mount the blanket with a small air gap behind it. Light, heat, and moisture can damage textiles over time. Direct sunlight can fade colors, and dampness can encourage mildew.
Tents and temporary camp setups
For tents, keep it temporary and lightweight:
- Use gear loops
- Use soft cord
- Use padded clips
- Never puncture the tent wall
- Avoid hanging damp blankets
- Remove before packing up
A blanket inside a tent can add coziness, but airflow matters. Damp fabric plus poor ventilation equals mildew villain origin story.
How to protect a woven throw from stretching, fading, and mildew
Textile preservation does not have to be fancy. A few simple habits go a long way.
Protect your blanket by following these rules:
- Support the full width. Avoid two-point hanging for medium or heavy blankets.
- Do not nail or staple through fabric. It creates holes and stress points.
- Use padded clips. Add felt, cotton, or soft fabric between clip and blanket.
- Avoid direct sunlight. Choose indirect light or rotate the display seasonally.
- Keep it dry. Do not hang damp blankets, especially in vans, cabins, or basements.
- Leave an air gap. Do not press fabric tightly against cold or damp walls.
- Rotate it. Give textiles a break every few months if they are exposed to light.
- Check for stretching. If the top edge waves or distorts, change the mounting method.
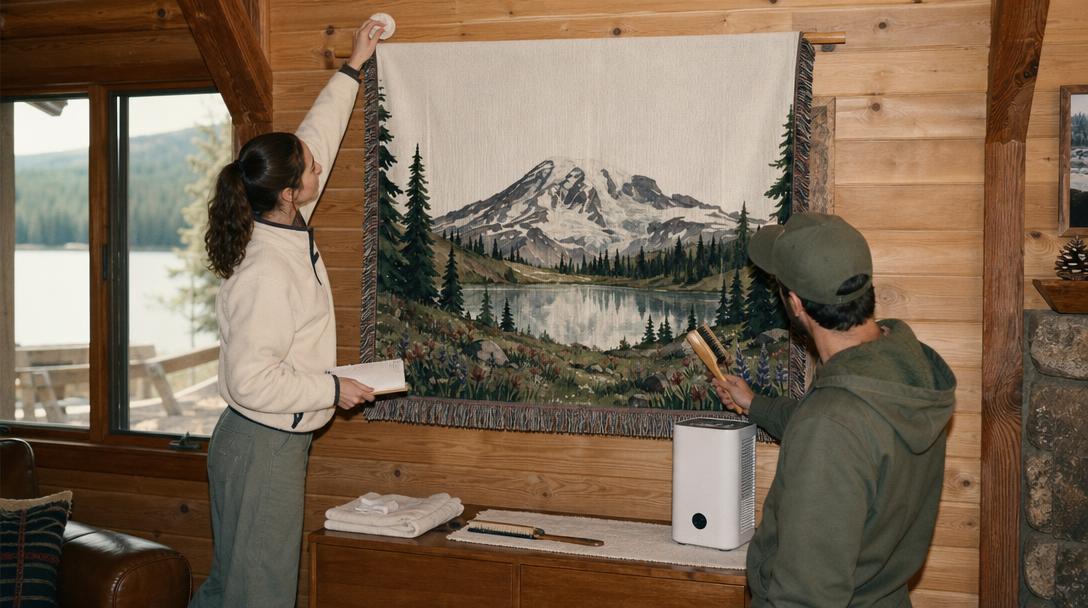
- Dust gently. Shake outdoors or use a low-suction vacuum through a screen for sturdy textiles.
- Be careful with heirlooms. Antique or fragile pieces deserve conservation-safe mounting.
If you are using cotton pads or a cotton sleeve behind a National Park-style throw, check those contact points every few months. A piece like the Glacier Lake McDonald Woven Blanket deserves even support, not two stressed corners doing all the work.
The simplest preservation rule: if the blanket looks like it is working hard to stay on the wall, the hanging method is wrong.


