


Winter Hiking Essentials for Cold Trails
Dominic PalmowskiWinter hiking essentials can be the difference between “this snowy trail is pure magic” and “why are my toes filing a formal complaint?” Cold-weather day hikes are quiet, gorgeous, and wonderfully peaceful—but they also bring shorter daylight, icy footing, sneaky dehydration, fast-changing weather, and gear that behaves differently when temperatures drop.
The good news: you do not need to pack like you’re summiting Everest for a two-hour snowy loop. You just need a smart wear-vs-pack system, the right winter hiking clothes, reliable traction, and a few emergency backups in case winter decides to be extra dramatic.
According to the National Park Service, winter hikers should check weather, carry the Ten Essentials, bring traction for ice and snow, and be prepared for conditions to change quickly. REI and the American Hiking Society also emphasize extra clothing, food, water, navigation, light, and emergency shelter as core safety items for cold-weather hikes.
Let’s build a day-hike kit that keeps you warm, dry, upright, hydrated, and back at the trailhead before dark.
Winter Hiking Essentials: The Wear vs. Pack Checklist
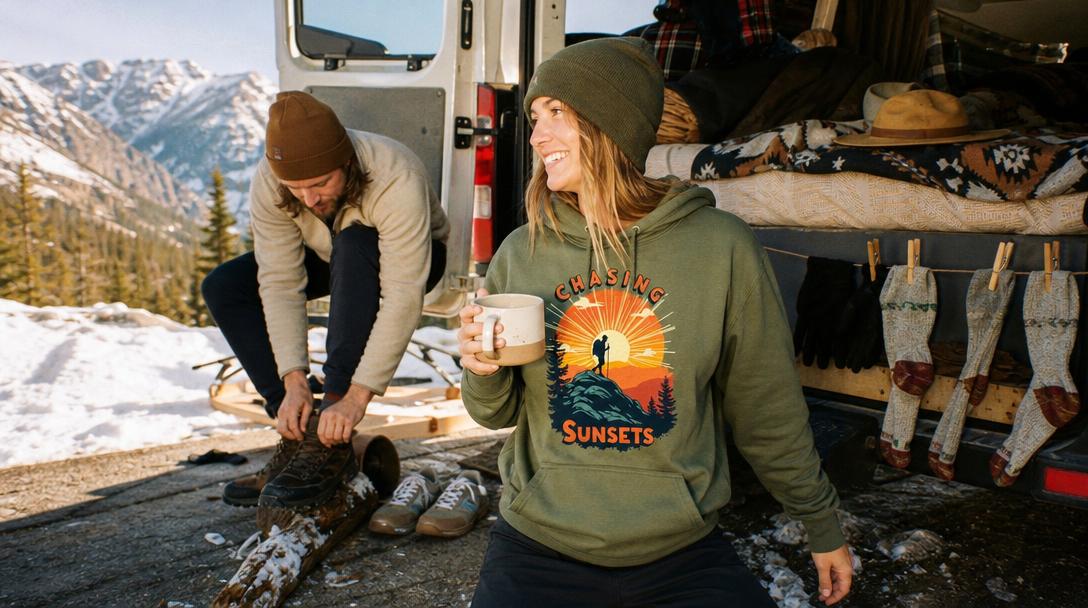
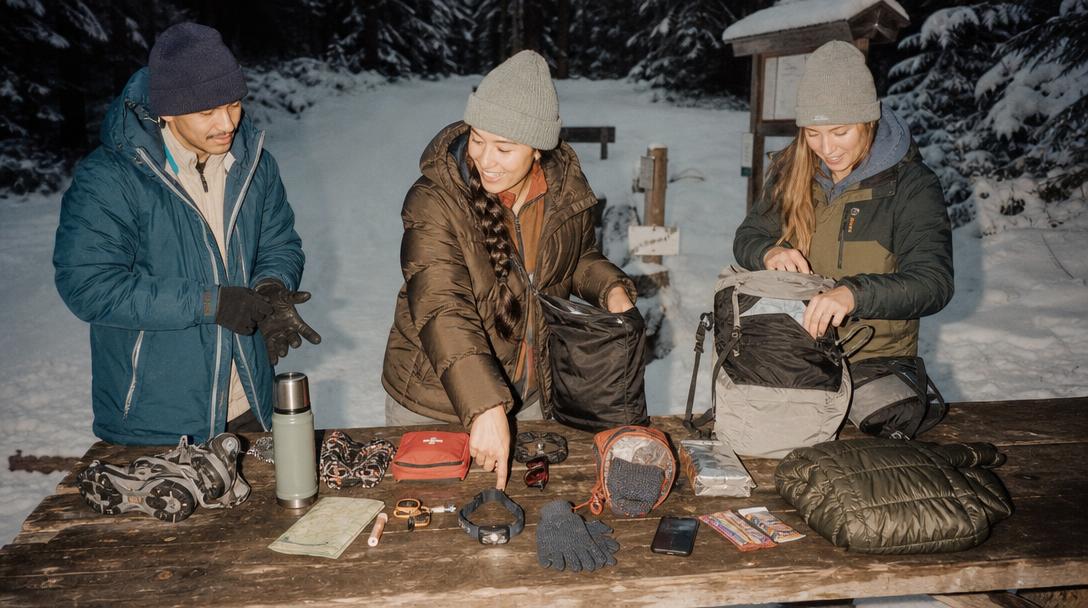
For a winter day hike, wear moisture-wicking layers, warm socks, weather-appropriate footwear, gloves, and a hat; pack extra insulation, a shell, traction, water, snacks, navigation, a headlamp, first aid, and emergency items. The best winter hiking essentials help you manage sweat, stay warm during stops, and handle snow, ice, wind, or delays.
Here’s the quick version you can screenshot before heading out.
Wear on the Trail
- Moisture-wicking base layer top and bottom
- Fleece, wool, or synthetic midlayer
- Softshell or wind-resistant hiking pants
- Waterproof or water-resistant hiking boots
- Wool or synthetic hiking socks
- Warm hat or beanie
- Lightweight liner gloves or midweight gloves
- Neck gaiter or buff
- Sunglasses if hiking near snow
- Weather-appropriate outer layer if windy, wet, or below freezing
Pack in Your Daypack
- Insulated hiking jacket or puffy jacket
- Waterproof/windproof shell jacket
- Extra gloves or mittens
- Extra warm socks
- Microspikes or trail traction
- Gaiters if snow is deep, slushy, or powdery
- Headlamp with spare batteries
- Map, compass, GPS app, or satellite messenger
- First aid kit with blister care
- Emergency blanket or bivy
- Fire starter and lighter
- Extra food
- Extra water or warm drink
- Power bank and charging cable
- Knife or multitool
- Sunscreen and lip balm with SPF
- Sit pad or small foam pad for breaks
- Trash bag or dry bag for wet gear
This list might look like a lot, but most items are small. Winter is less forgiving than summer, so your pack becomes your “just in case the trail gets spicy” insurance policy.
What to Wear Hiking in Cold Weather
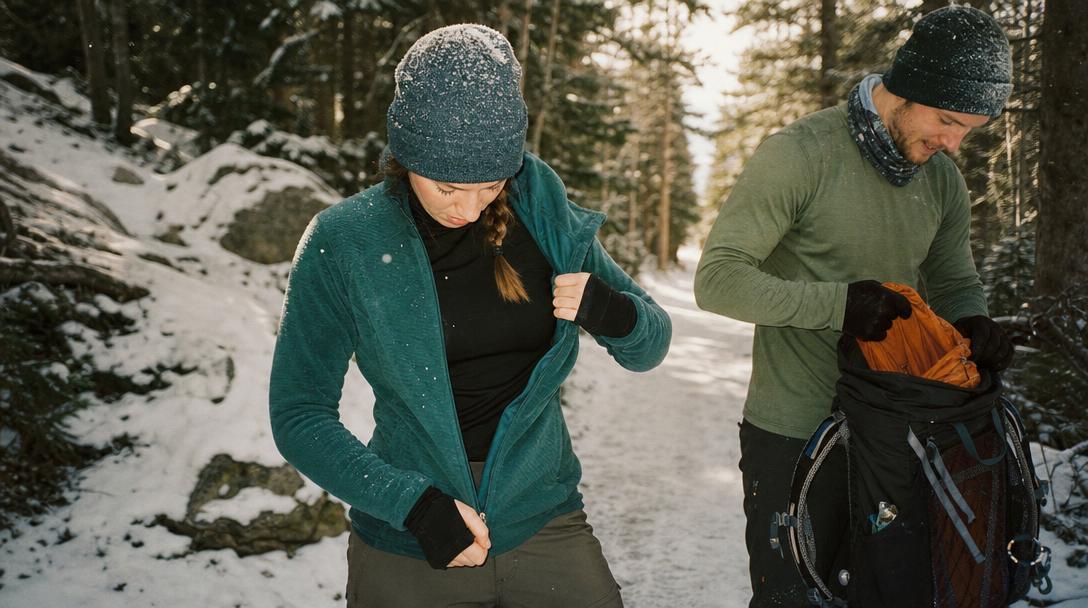
When deciding what to wear hiking in cold weather, choose breathable, moisture-wicking winter hiking clothes that can be adjusted as you move. Start slightly cool, avoid cotton, vent before you sweat, and carry insulation for breaks. Your goal is not to feel warm every second—it’s to stay dry enough to remain warm all day.
The biggest beginner mistake is dressing for the trailhead instead of the hike. You step out of the car, feel chilly, bundle up like a cinnamon roll, then start climbing and sweat through everything. Twenty minutes later, you stop for a snack and suddenly become a human popsicle.
That’s why winter hiking layers matter. Each layer has a job:
- Base layer: Pulls sweat away from your skin. Choose merino wool or synthetic fabric.
- Midlayer: Adds warmth. Fleece, wool, or synthetic insulation works well.
- Outer shell: Blocks wind, rain, and snow.
- Insulated layer: Keeps you warm when stopped, during lunch, or in an emergency.
Cotton is the trail villain here. It absorbs moisture, dries slowly, and can make you colder once you stop moving. Save the cotton hoodie for post-hike cocoa, not the hike itself.
For a deeper clothing-only breakdown, see Hike Tee’s guide to what to wear hiking in cold weather.
What Equipment Do I Need for a Winter Hike?
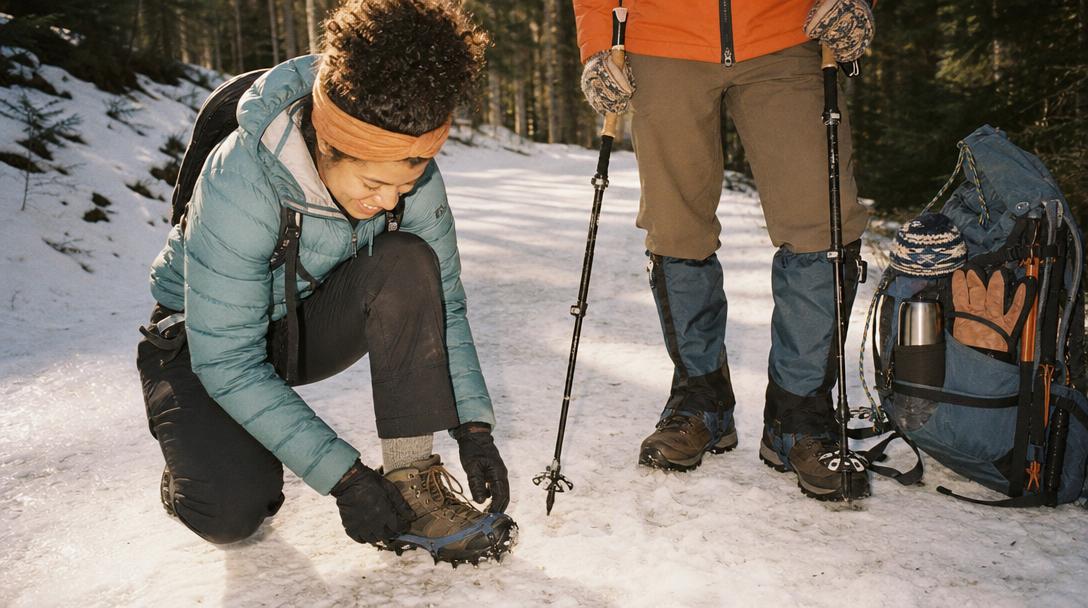
For a winter hike, you need a daypack, cold weather hiking clothing, traction devices, proper footwear, water, food, navigation, headlamp, first aid kit, emergency shelter, and extra layers. Add gaiters, trekking poles, a power bank, and insulated bottle storage when trails are snowy, icy, remote, or below freezing.
Think of your winter hiking equipment in five categories: warmth, movement, safety, hydration, and emergency backup.
Footwear: Waterproof vs. Insulated Boots
Your boots need to match the trail.
Choose waterproof hiking boots when:
- Trails are wet, muddy, slushy, or snowy
- Temperatures are above about 20°F
- You’ll be moving steadily
- You want better versatility across seasons
Choose insulated hiking boots when:
- Temperatures are consistently below freezing
- You’ll be standing around, snowshoeing, or moving slowly
- Your feet get cold easily
- Snow is deep or the trail is packed and icy
The Appalachian Mountain Club recommends waterproof and insulated boots for winter hiking and snowshoeing, with more insulation for colder or higher-elevation conditions. For most casual day hikers, a waterproof boot plus warm socks works for mild winter hikes, while insulated boots become more helpful as temps drop.
The Best Winter Hiking Socks Setup
The best winter hiking socks are wool or synthetic, warm without being too tight, and paired with boots that leave toe room. Merino wool is popular because it insulates, manages odor, and keeps some warmth when damp.
Avoid stuffing thick socks into tight boots. Compression reduces circulation, which makes feet colder. Your toes should wiggle freely—tiny toe jazz hands are a good sign.
For colder hikes, try:
- Thin liner sock plus midweight wool sock
- Midweight wool sock alone
- Spare dry socks in a zip bag
- Toe warmers only if your boots have enough room
Gaiters: When Are They Worth It?
Gaiters keep snow, mud, and trail confetti out of your boots. Bring them when:
- Snow is deeper than ankle height
- Trails are slushy
- You’re snowshoeing
- Your pants ride up over your boots
- You plan to posthole through powder
They’re not always necessary on dry, packed trails—but when you need them, you really need them.
Traction: Microspikes, Crampons, or Snowshoes?
For most winter day hikes, microspikes are the sweet spot. The National Park Service recommends traction devices for walking on ice and snow.
- Microspikes: Best for icy trails, packed snow, and frozen paths
- Yak-style traction: Good for flat, icy sidewalks or easy trails
- Crampons: For steep, technical ice—not casual hiking
- Snowshoes: For deep, unpacked snow where you’d sink otherwise
If the trail report says “icy,” pack microspikes. If you leave them in the car, the ice goblins will know.
What to Take on a Hike in Winter
Take warm layers, waterproof protection, traction, navigation, light, food, water, first aid, emergency shelter, and extra clothing on a winter hike. For day hikes, prioritize items that prevent the big winter problems: getting wet, getting lost, slipping on ice, running out of daylight, or becoming too cold during stops.
Here’s a phone-friendly checklist you can copy into your notes app.
Winter Day Hike Packing List
Clothing to wear
- Base layer top and bottom
- Fleece or active insulation
- Hiking pants or softshell pants
- Wool socks
- Waterproof or insulated boots
- Hat
- Gloves
- Neck gaiter
Clothing to pack
- Puffy jacket
- Waterproof shell
- Spare gloves or mittens
- Spare socks
- Extra base layer if conditions are wet or very cold
Trail gear
- Daypack
- Microspikes
- Gaiters
- Trekking poles with snow baskets
- Sunglasses
- Sunscreen and lip balm
Safety gear
- Map and compass
- GPS app or satellite messenger
- Headlamp
- Spare batteries
- First aid kit
- Emergency blanket or bivy
- Lighter and fire starter
- Knife or multitool
- Whistle
Food and water
- 1.5–2+ liters of water depending on hike length
- Insulated bottle or bottle sleeve
- Warm drink in a thermos
- Salty snacks
- Fast sugar snacks
- Real lunch if hiking longer than 3–4 hours
Hydration: How to Drink When You Don’t Want Cold Water
Winter dehydration is sneaky. You may not feel thirsty, but you still lose fluid through breathing and sweating. Cold air is dry, and uphill hiking in layers adds effort.
Try these tricks:
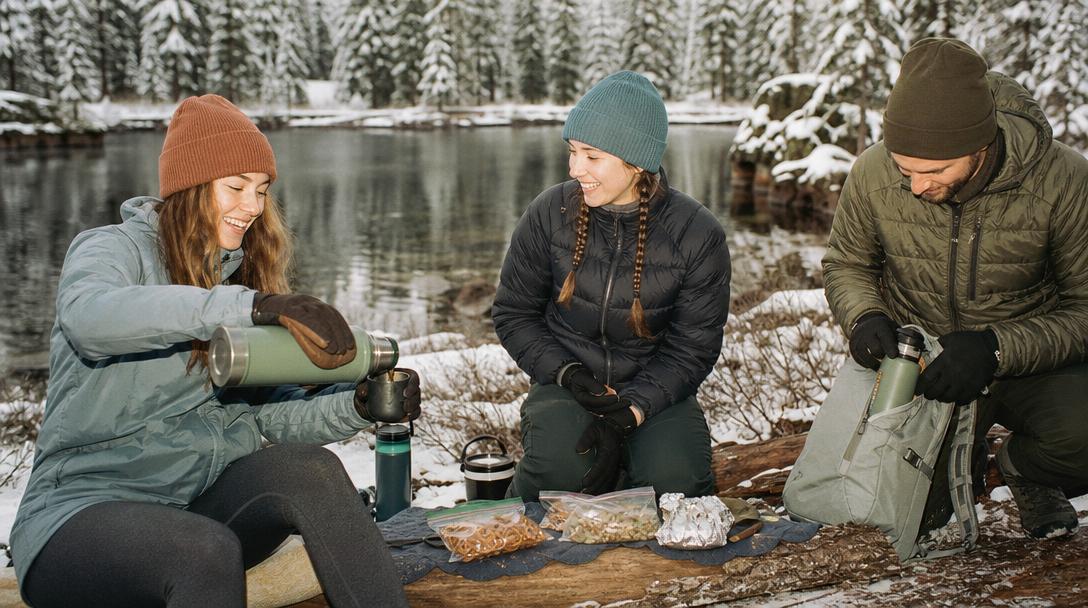
- Carry warm tea, cocoa, or broth in a thermos.
- Use insulated bottle sleeves.
- Store bottles upside down so the cap is less likely to freeze shut.
- Keep a bottle inside your pack instead of in an outside pocket.
- Sip on a schedule, such as every 20–30 minutes.
- Bring electrolytes if you’re sweating or hiking longer.
Hydration bladders can freeze in the hose. If you use one, blow water back into the reservoir after each sip and use an insulated tube cover.
Headlamps, Batteries, and the Short Winter Day Problem
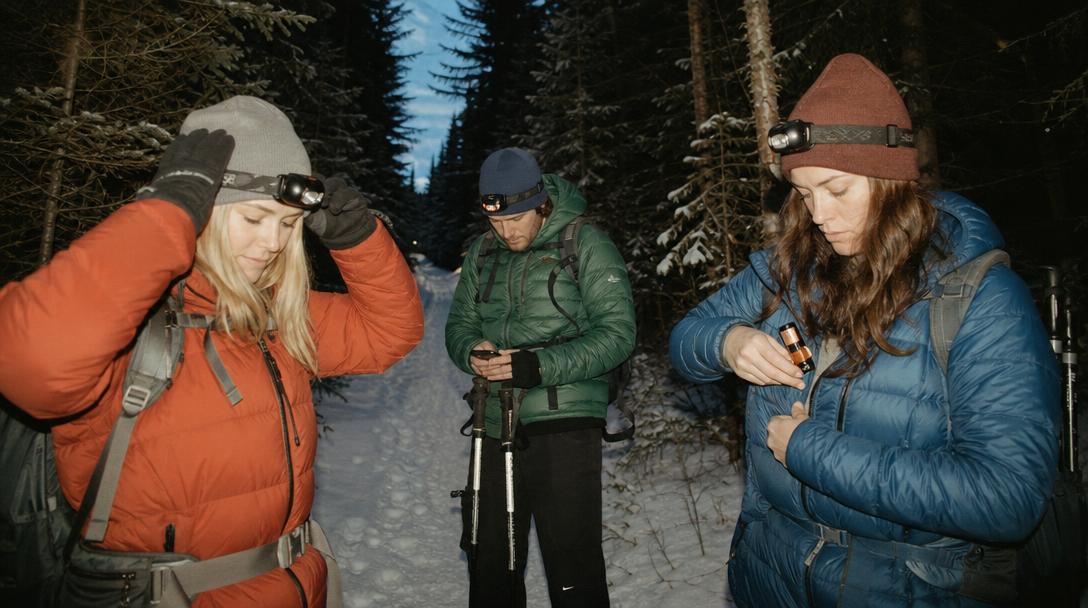
Winter daylight disappears early, especially in forests, canyons, and mountain valleys. Pack a headlamp even if you plan to finish by lunch.
Cold drains batteries faster, so:
- Use fresh batteries before the hike.
- Carry spares in an inside pocket.
- Bring a small power bank for your phone.
- Keep your phone warm near your body.
- Download offline maps before you lose service.
A headlamp is one of those items you may not need often—but when you need it, you really need it. Your phone flashlight is not a great backup when your phone is also your map, camera, and “please come get me” device.
National Park and Van-Life Winter Hiking Tips
Winter hiking in national parks can be incredible: fewer crowds, quiet trails, snow-dusted viewpoints, and wildlife tracks everywhere. But park conditions change fast.
Before hiking:
- Check the official park website for closures and alerts.
- Ask rangers about icy sections, avalanche terrain, and road conditions.
- Carry traction even on popular trails.
- Start early and plan to return before dark.
- Keep extra blankets, water, and food in your vehicle.
- Don’t rely on cell service.
For van-life travelers, store hiking clothes where they stay dry. Condensation inside vans can dampen gear overnight. Hang wet socks and gloves near airflow, not buried in a mystery pile behind the passenger seat. That pile knows what it did.
After the hike, cotton and casual layers finally get their moment. A dry hoodie or relaxed trail hat waiting in the van is deeply underrated once the technical layers come off. Hike first, then switch into cozy post-hike comfort like the Chasing Sunsets Hoodie or a casual Sunset Cap for the drive home.


