


How to Pack a Hiking Backpack | Hike Tee
The Simple Backpack Packing Diagram Beginners Should Know
Think of your hiking backpack like a three-story cabin in the woods:
          TOP ZONE
  Light/medium items you need often
  Rain jacket, snacks, first aid, map

          CORE ZONE
  Heavy items close to your back
  Food, water, stove, bear canister

          BOTTOM ZONE
  Bulky, light items used at camp
  Sleeping bag, sleep clothes, puffy
That is the beginner-friendly version of hiking backpack packing. Most modern hiking packs are internal-frame packs, which means they are designed to carry weight close to your body.
Here is the golden rule:
Heavy gear should go in the middle of your backpack, close to your spine and between your shoulder blades and hips.
This keeps your center of gravity balanced. If heavy stuff sits too low, your pack drags backward. If it sits too far away from your back, you will feel like you are being gently pulled into a trust fall with gravity. Gravity is not a reliable hiking partner.
If you are still building your overall kit, pair this packing method with our hiking gear essentials checklist so you are organizing the right gear, not just more gear.
How to Pack a Hiking Backpack Correctly: The Zone-by-Zone Method
Bottom Zone: What Goes in the Bottom of a Backpack?
The bottom of your backpack is best for bulky, lightweight items you will not need until later.
Pack these items at the bottom:
- Sleeping bag or quilt
- Sleeping clothes
- Puffy jacket, if you will not need it during the day
- Extra base layers
- Camp clothes
- Lightweight sleeping pad, if it fits inside
The bottom zone creates a soft foundation. It also keeps gear you do not need during the hike out of the way.
For a day hike, you may not have a sleeping bag, of course. Instead, the bottom of your daypack can hold a spare fleece, extra socks, or a light rain layer if the forecast looks friendly.
Avoid putting dense items like food bags, water bottles, fuel canisters, or cameras in the bottom. That pulls the weight downward and can make your pack feel heavier than it really is.
If you are comparing sleep systems before an overnight trip, our guide to the best sleeping bags for camping and backpacking can help you choose something warm without wasting pack space.
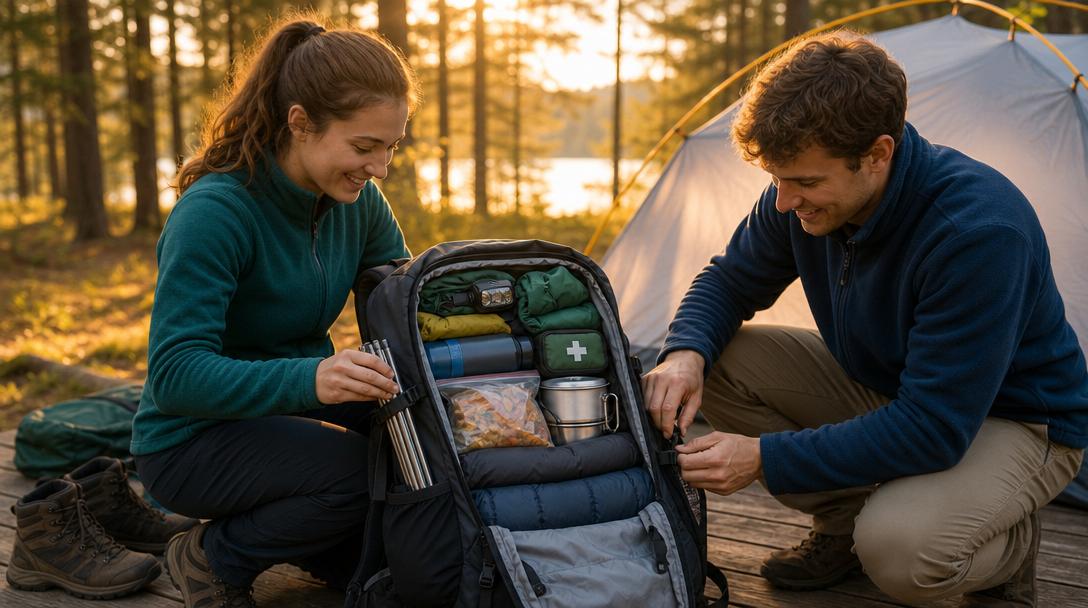
Core Zone: Where Should Heavy Items Go in a Backpack?
Heavy items should go in the middle of your pack, close to your back.
This is the most important part of how to pack a backpack correctly. The core zone is where your densest gear belongs.
Pack these items in the middle, against the back panel:
- Food bag
- Water reservoir or full water bottles
- Stove
- Fuel canister
- Cook pot with gear inside
- Bear canister, where required
- Heavier electronics or camera gear
- Dense toiletries or repair kit
REI and other outdoor educators commonly recommend placing heavier gear close to your back and centered in the pack, with lighter items surrounding it to prevent shifting. This helps prevent the pack from pulling you backward and makes your load feel more stable.
If you are using a bear canister, pack it vertically or horizontally depending on your pack shape, but keep it centered and close to your back. Stuff soft items, like extra clothes or your tent body, around it so it does not clunk around with every step.
Nobody wants their backpack to sound like a kitchen drawer falling down a mountain.
Top Zone: Easy-Access Trail Gear
The top of your backpack is for things you may need during the hike.
Pack these near the top:
- Rain jacket
- Fleece or active insulation layer
- First aid kit
- Lunch
- Snacks
- Water filter
- Toilet kit
- Headlamp
- Map and compass
- Sunscreen
- Gloves or beanie
- Bug spray
This is where smart organization saves your mood. If storm clouds roll in and your rain shell is buried under your sleeping bag, you are going to have a very damp learning experience.
For day hikes, the top of your pack should hold your most-used items: snacks, rain protection, sunscreen, and a first aid kit.
For overnight and multi-day hikes, the top should hold anything you might need before reaching camp.
Pockets and Exterior: Use Them, But Do Not Abuse Them
Backpack pockets are great until they become a garage sale with shoulder straps.
Use hip-belt pockets for:
- Trail snacks
- Lip balm
- Small sunscreen
- Hand sanitizer
- Pocket knife or multitool
- Phone, if secure
- Electrolyte packets
Use side pockets for:
- Water bottles
- Tent poles
- Trekking poles when not in use
- Camp shoes, if lightweight and secure
Use the top lid for:
- First aid kit
- Headlamp
- Map
- Sunglasses
- Keys
- Wallet
- Permit
Try not to hang heavy items from the outside of your pack. Swinging gear throws off your balance, snags on branches, and makes your pack feel heavier. If you must attach something externally, make sure it is light and strapped down tight.
Foam sleeping pads? Fine. Cast iron skillet? Please no, unless you are filming a wilderness cooking show and have heroic knees.
How to Pack a Backpack for a Day Hike
For a day hike, your pack is usually 10–25 liters. The goal is simple: carry the essentials, stay comfortable, and keep frequently used items easy to reach.
Day Hike Packing Layout
Bottom:
- Extra layer
- Rain jacket, if weather is stable
- Spare socks
Middle, close to your back:
- Water reservoir or water bottles
- Dense snacks or lunch
- Camera
- Small emergency kit
Top and pockets:
- Sunscreen
- Sunglasses
- Map
- First aid kit
- Headlamp
- Snacks
- Bug spray
- Hat or gloves
Even on short hikes, carry the basics. The National Park Service recommends hikers bring essentials like water, navigation, sun protection, insulation, illumination, first aid, fire supplies, repair tools, nutrition, and emergency shelter depending on conditions.
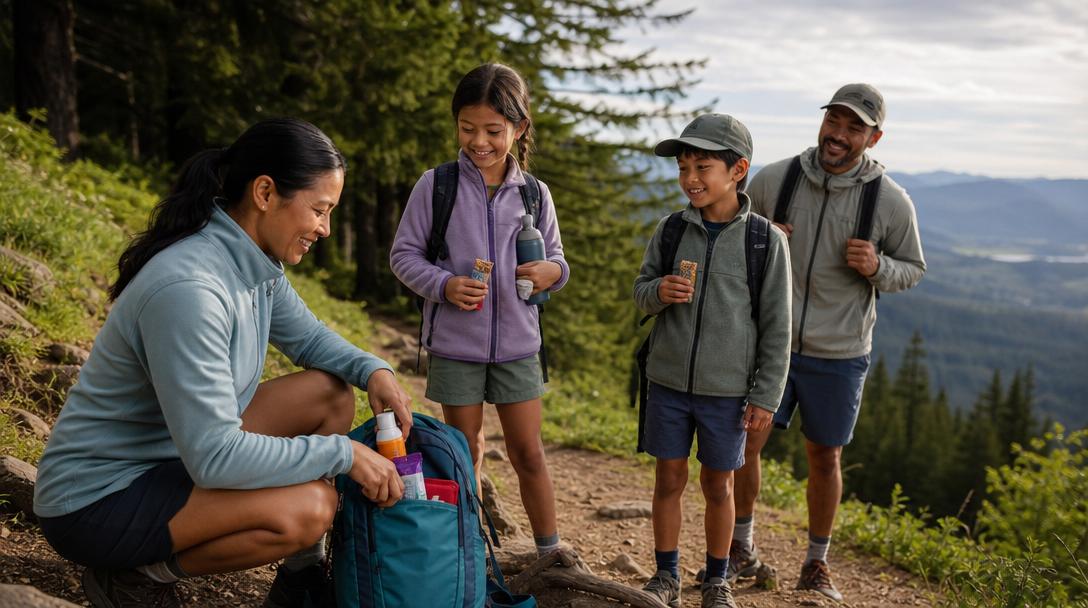
For family hikes, put kid snacks somewhere easy to reach. Trail morale often lives inside a granola bar.
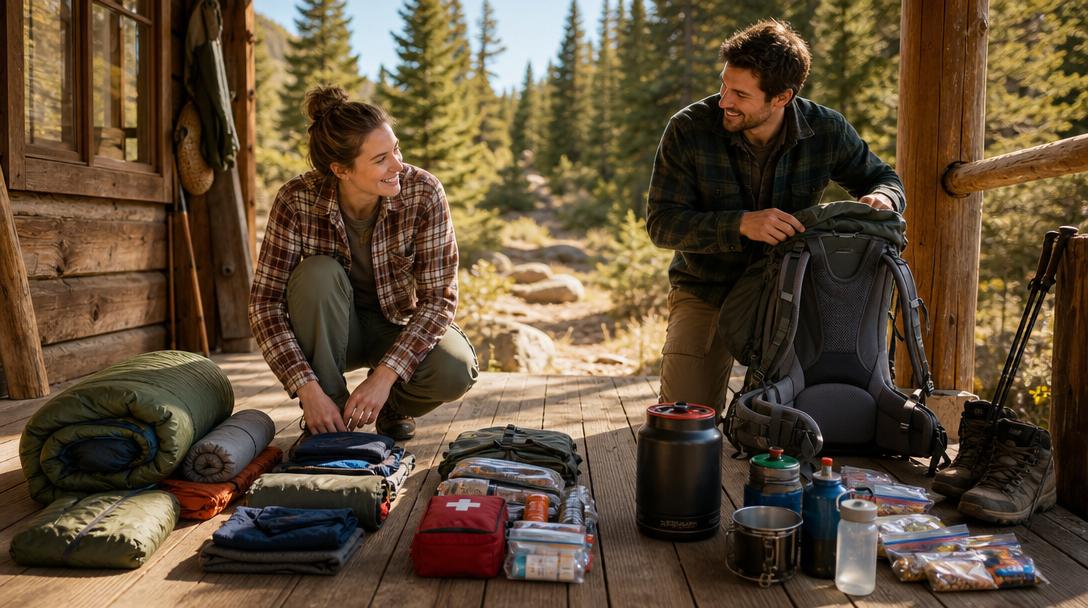
How to Pack a Backpack for an Overnight Hike

For an overnight backpacking trip, you will usually use a 30–50 liter pack, depending on the season and your gear size.
Overnight Packing Layout
Bottom:
- Sleeping bag or quilt
- Sleep clothes
- Lightweight camp layers
Core, close to back:
- Food
- Stove and fuel
- Water reservoir
- Bear canister or food storage bag
- Cook kit
Around the core:
- Tent body
- Rainfly
- Extra clothing
- Camp shoes, if lightweight
Top:
- Rain jacket
- Puffy jacket
- First aid kit
- Water filter
- Toilet kit
- Headlamp
- Dinner or lunch
- Navigation
Exterior:
- Tent poles in side pocket
- Foam pad strapped securely, if needed
- Trekking poles when not in use
The biggest beginner mistake on overnight trips is packing as if you are moving into the forest permanently. You need enough to stay safe and comfortable, not enough to open a rustic boutique.
How to Pack a Backpack for a 2–3 Day Hike
A 2–3 day hike usually means more food, smarter clothing choices, and better organization. Your pack may be in the 45–60 liter range.
2–3 Day Backpack Packing Tips
- Portion food by day so you do not have to dig through everything.
- Keep the first day’s lunch and snacks near the top.
- Store sleep clothes in a dry bag.
- Keep rain gear accessible at all times.
- Use small stuff sacks or packing cubes, but do not overdo it.
- Balance side pockets so one side is not much heavier.
For clothing, focus on layers rather than outfits. A simple hiking clothing system might include:
- Quick-dry hiking t-shirt
- Lightweight fleece or sun hoodie
- Rain shell
- Hiking pants or shorts
- Sleep base layer
- Extra socks
- Warm hat or sun hat
A quick-dry tee is your friend here. Cotton can hold moisture and dry slowly, which may leave you chilly once you stop moving. Synthetic blends or merino wool are better choices for most hikes. For a deeper breakdown, see our guide to the best hiking shirts for hot weather.
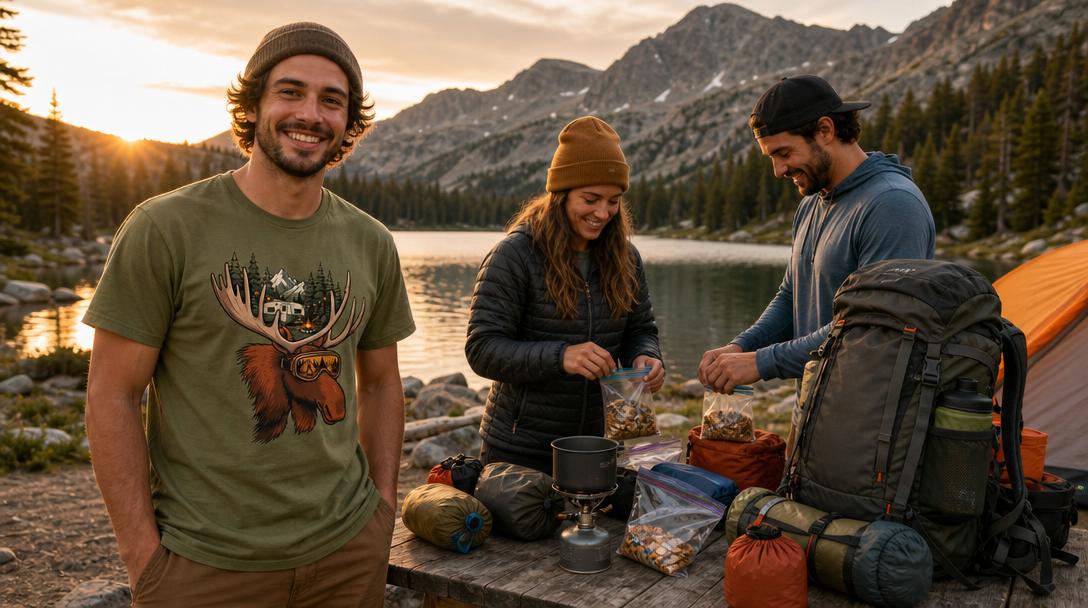
For camp lounging, travel days, and easy post-hike hangs, a casual graphic tee is fair game. If your trail personality leans slightly feral but friendly, the One More Mile funny hiking shirt packs small and brings the right amount of summit-photo personality.
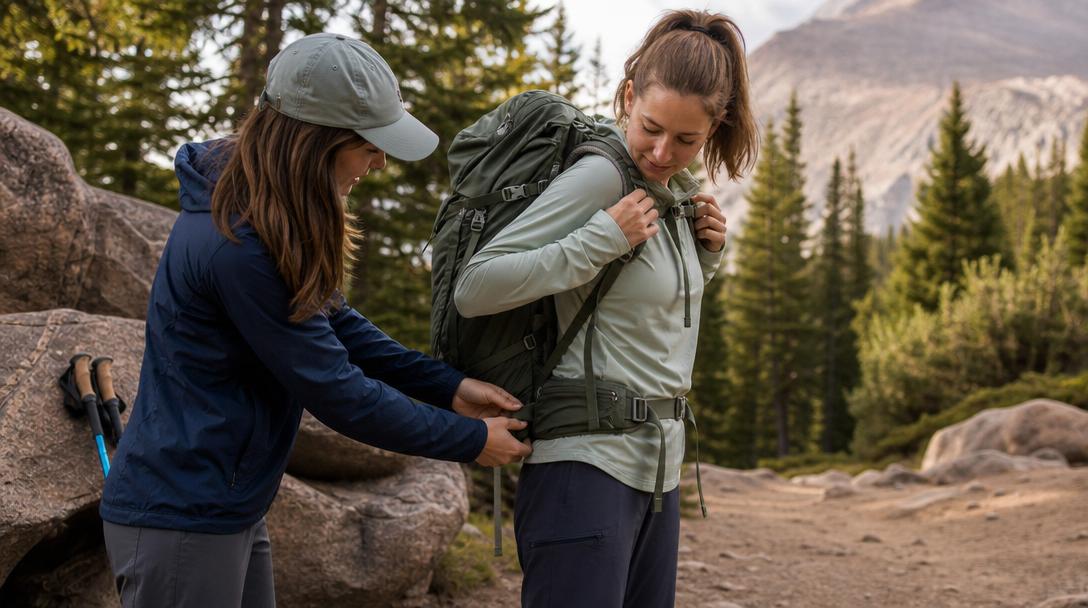
Body Fit Matters: How to Pack a Backpack So It Feels Lighter
If you are wondering how to pack a backpack so it feels lighter, packing technique is only half the answer. Fit is the other half.
A well-packed backpack can still feel awful if the torso length is wrong or the hip belt is not doing its job.
Choose the Right Pack Size
Backpacks are sized by torso length, not your overall height. Someone who is 5 feet 6 inches and someone who is 6 feet tall can have similar torso measurements.
To find your torso length:
- Tilt your head forward and find the bony bump at the base of your neck. That is your C7 vertebra.
- Place your hands on top of your hip bones.
- Measure from the C7 down to the imaginary line between your thumbs.
Use that measurement to choose the correct pack size based on the brand’s sizing chart.
Set Your Hip Belt First
Your hip belt should sit over the top of your hip bones, also called the iliac crest. Buckle it snugly so your hips carry most of the load.
If your shoulders are screaming after ten minutes, your hip belt may be too loose, too high, too low, or your pack may not fit your torso.
Adjust Shoulder Straps
After the hip belt is snug, tighten your shoulder straps just enough to bring the pack close to your back. They should not carry most of the weight.
Think hug, not python.
Use Load Lifters
Load lifters are the small straps connecting the top of your shoulder straps to the upper part of the pack. Tighten them gently to pull the pack closer to your upper back.
The Appalachian Mountain Club suggests load lifters often work best at about a 30–45 degree angle.
Clip the Sternum Strap
The sternum strap keeps your shoulder straps from sliding outward and helps stabilize the load. Do not crank it so tight that breathing feels like a subscription service.
Tighten Compression Straps
Compression straps reduce pack sway. Once everything is loaded, tighten the side straps so the load stays close and compact.
A stable pack feels lighter because your body is not constantly fighting movement.
Backpack Packing Mistakes: What Not to Pack
Overpacking is incredibly common, especially for beginners. The fear of being unprepared is real, but so is the regret of carrying a 50-pound pack up a climb.
Avoid Packing These Unless You Truly Need Them
- Multiple heavy books
- Full-size toiletries
- Large knives or hatchets
- Extra shoes, unless needed
- Too many clothing changes
- Heavy cotton sweatshirts
- Cans or glass containers
- Oversized first aid kits with items you do not know how to use
- Camp luxuries that do not justify their weight
- Duplicate gear just in case
Common Overpacking Rules to Remember
- Do not pack a fresh outfit for every day.
- Do not bring full-size anything if a travel-size version works.
- Do not carry fear-based duplicates.
- Do not strap heavy gear to the outside.
- Do not bring gear you have not tested unless you enjoy surprise plot twists.
A helpful rule: after each trip, make two lists: what you used and what you did not. If something stays unused across multiple trips and is not emergency gear, reconsider it.
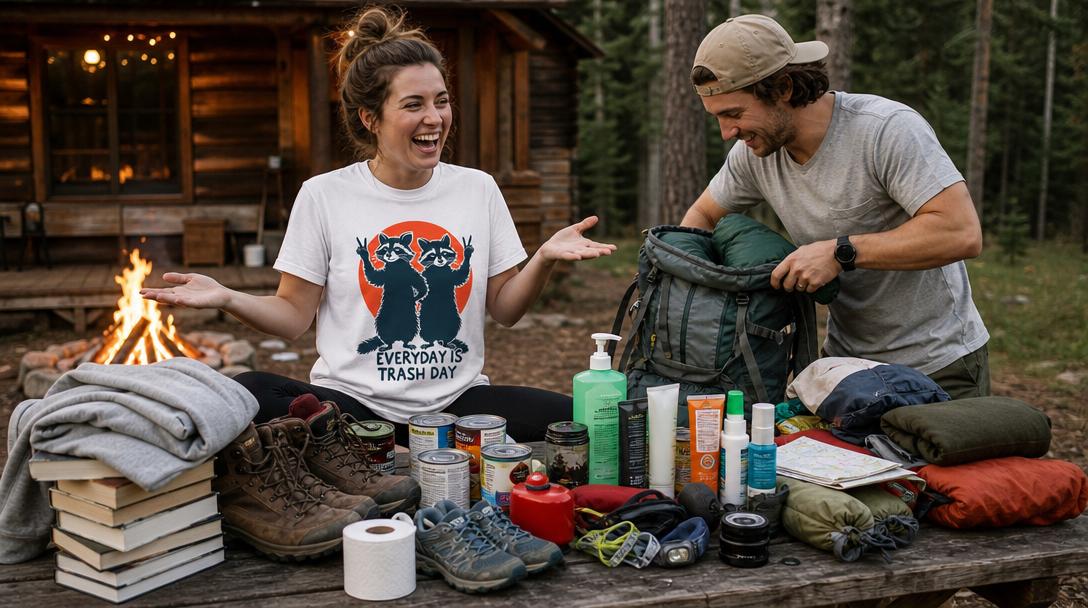
For low-key camping nights or cabin trips where cotton and cotton-blend casual tees make more sense than technical layers, a relaxed graphic like the Life is Better Around the Campfire shirt belongs in the comfy-not-critical category.
How to Pack a Hiking Pack for Beginners Without Overthinking It
- Lay out everything before packing. Seeing all your gear at once helps you spot duplicates and unnecessary items.
- Make three piles: light, medium, heavy. Light: sleeping bag, clothes, puffy. Medium: tent, rain gear, first aid. Heavy: food, water, stove, bear canister.
- Pack light bulky items first. Put sleeping gear and camp clothes at the bottom.
- Place heavy items in the middle against your back. Keep them centered and stable.
- Fill empty spaces with soft gear. Stuff socks, layers, or tent fabric around hard items.
- Put often-used items on top. Rain gear, snacks, first aid, water filter, and navigation should be easy to grab.
- Tighten compression straps. A compact pack carries better than a floppy one.
- Try it on before leaving home. Walk around. Climb stairs. Do a little did-I-forget-my-keys pacing. Adjust before you are at the trailhead.


